Learn to make the best Italian Pizzelle Cookies! These thin waffle cookies are light, buttery and crispy. Flavor them with almond, anise or vanilla! Don't miss my video and recipe tips, plus recommendations for choosing a pizzelle maker!
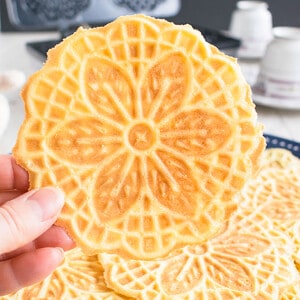
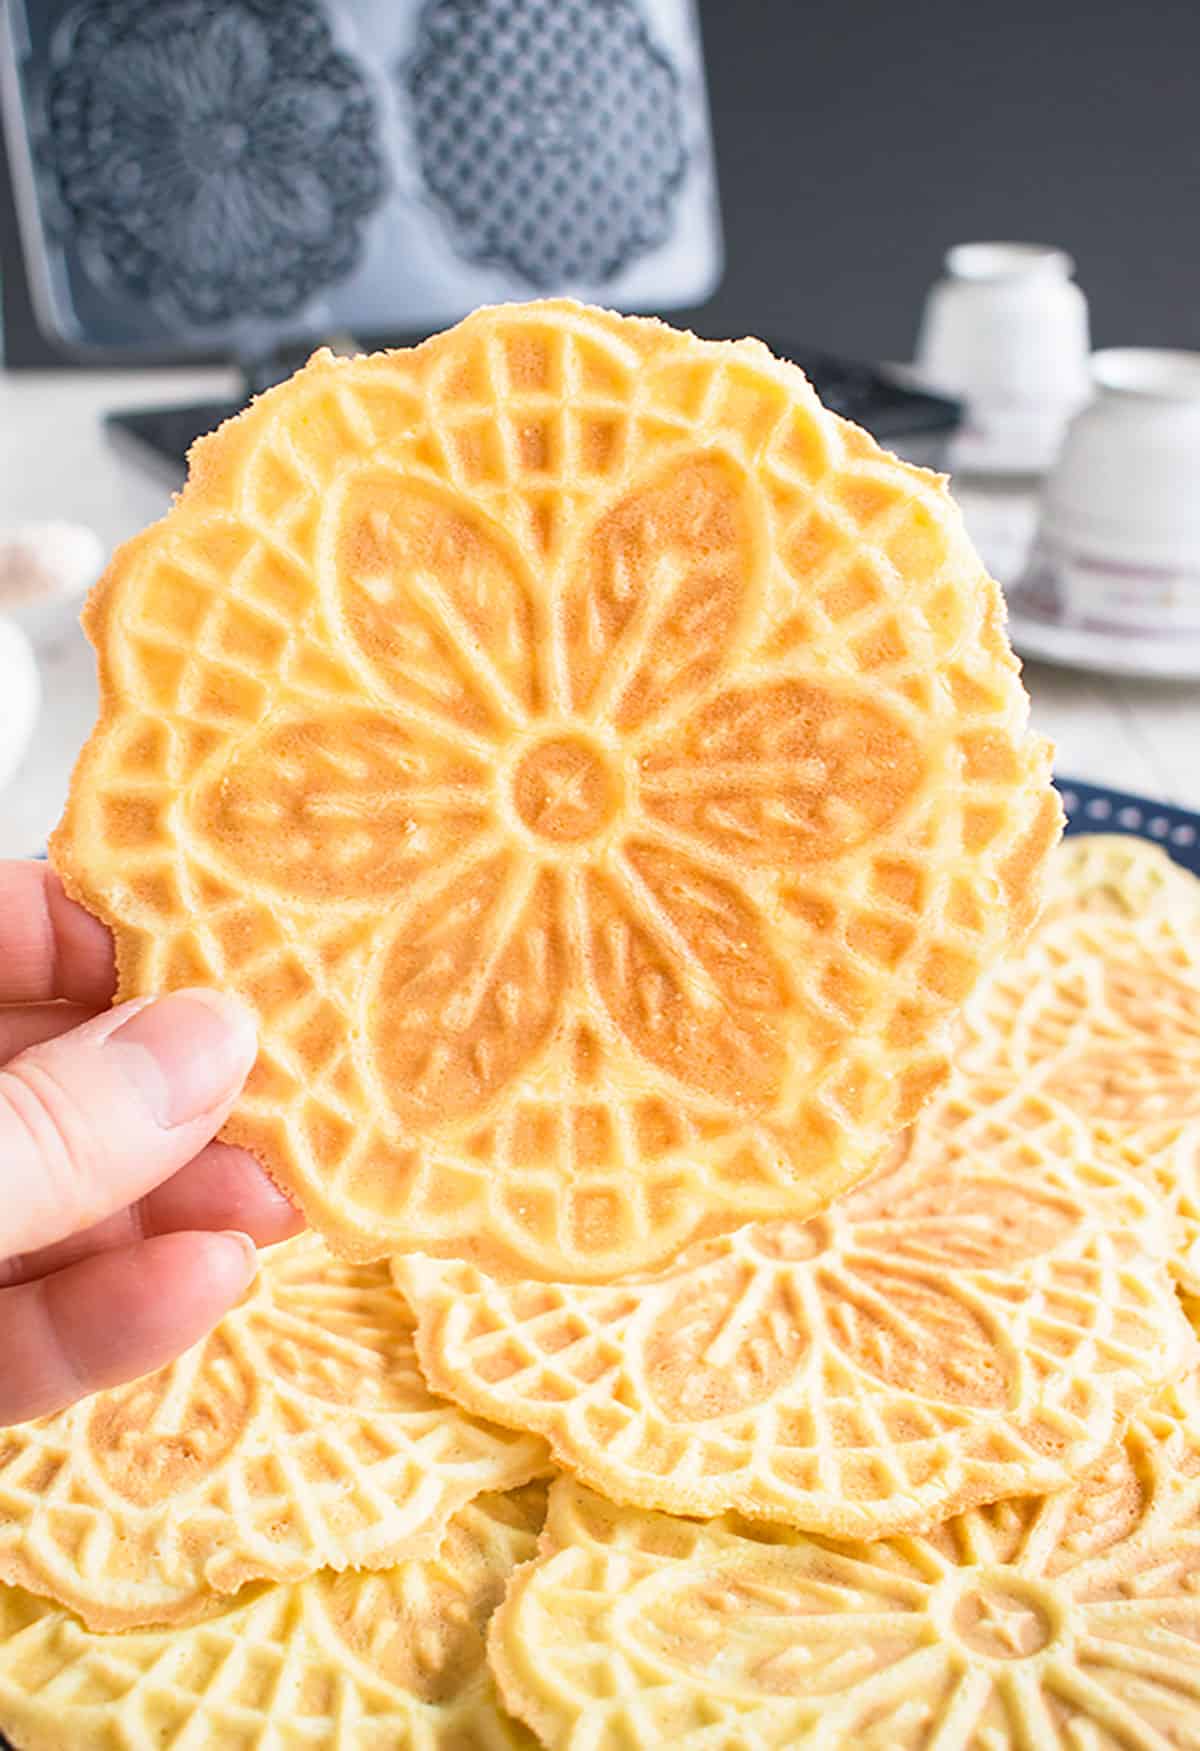
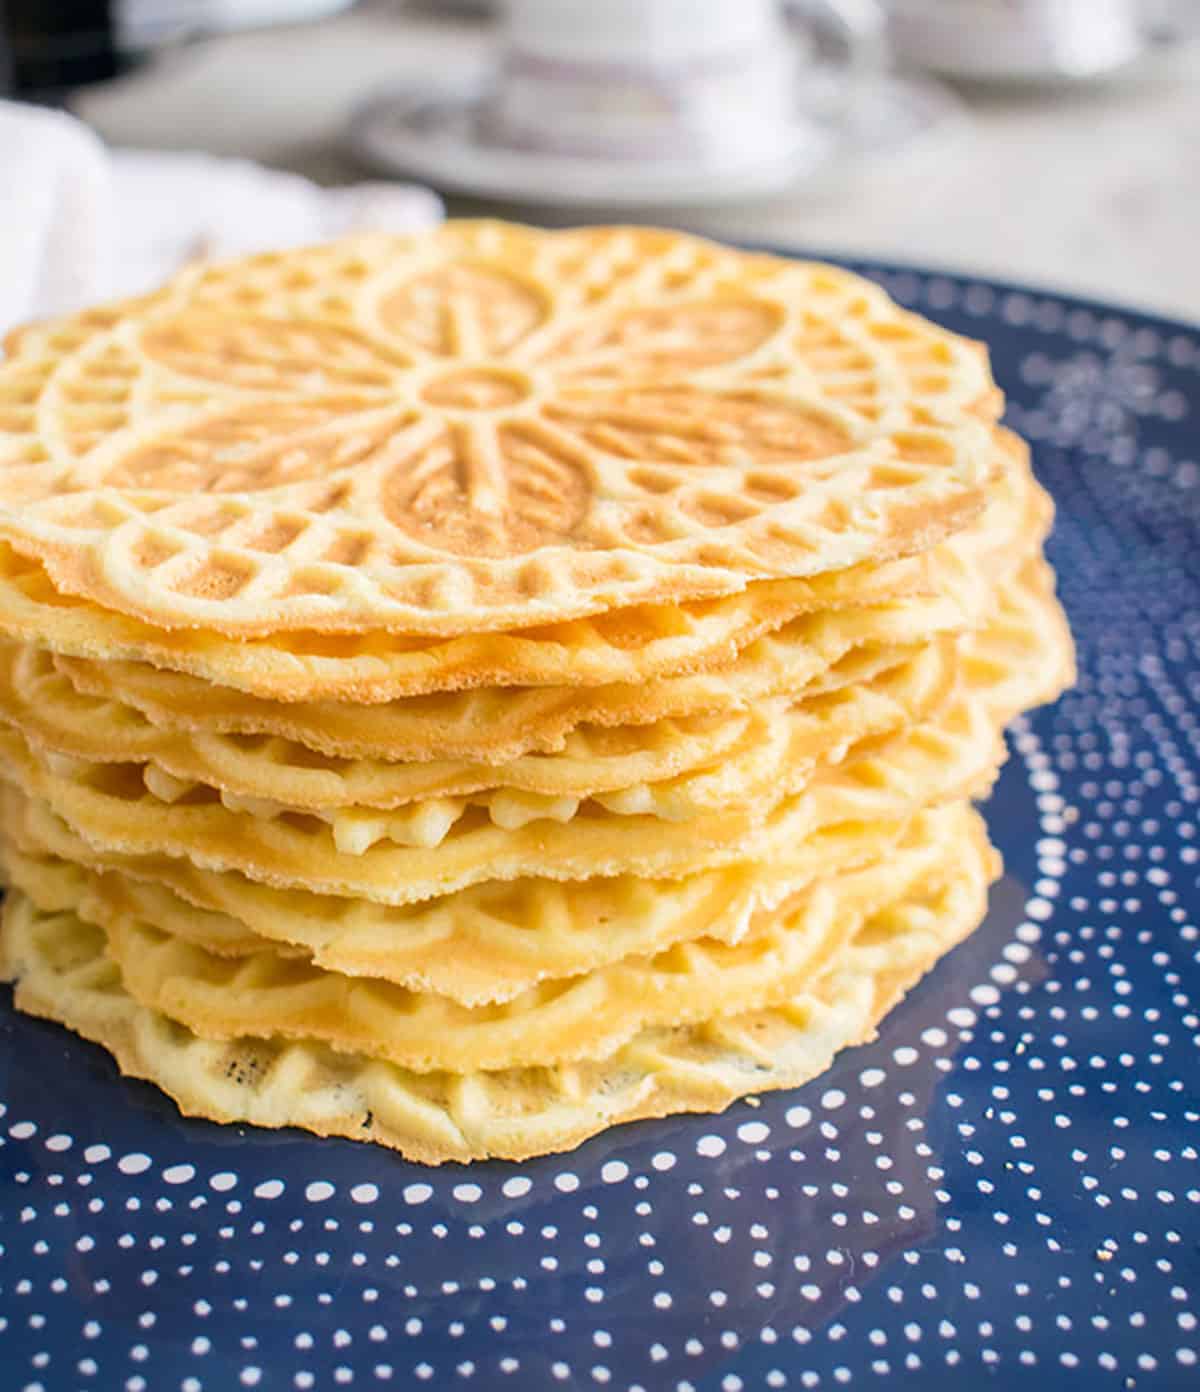
Behold, the beautiful Italian pizzelle cookie. Doesn't that snowflake design make you smile?
I bet you'll be smiling even more after you try my pizzelle recipe! I based it on Mom's version and took it to the next level, if I do say so myself!
What are pizzelle cookies?
Pizzelle are thin, crispy, Italian waffle cookies that originated in the Abruzzo region. They're traditionally flavored with anise, which tastes like black licorice.
As I mentioned in my Italian Cookies post, I've never been a fan of anise! I prefer making almond pizzelle. We love almond desserts like these pignoli (pine nut) cookies!
But, I've included directions for using either anise or almond flavor in the recipe card. You could even try other variations like vanilla. More on that later.
How to pronounce pizzelle
If you're wondering about the pronunciation of "pizzelle," it's (peet-ZELL-ay). That's the plural spelling in Italian. One of these thin waffle cookies is called a "pizzella."
If saying "pizzelle" reminds you of saying "pizza," it's because both words are derived from "pizze," which means round and flat. Adding the "elle" means small.
In English, however, people call these Italian wafer cookies "pizzelles." Let's just call them "delicious!"
Recipe ingredients
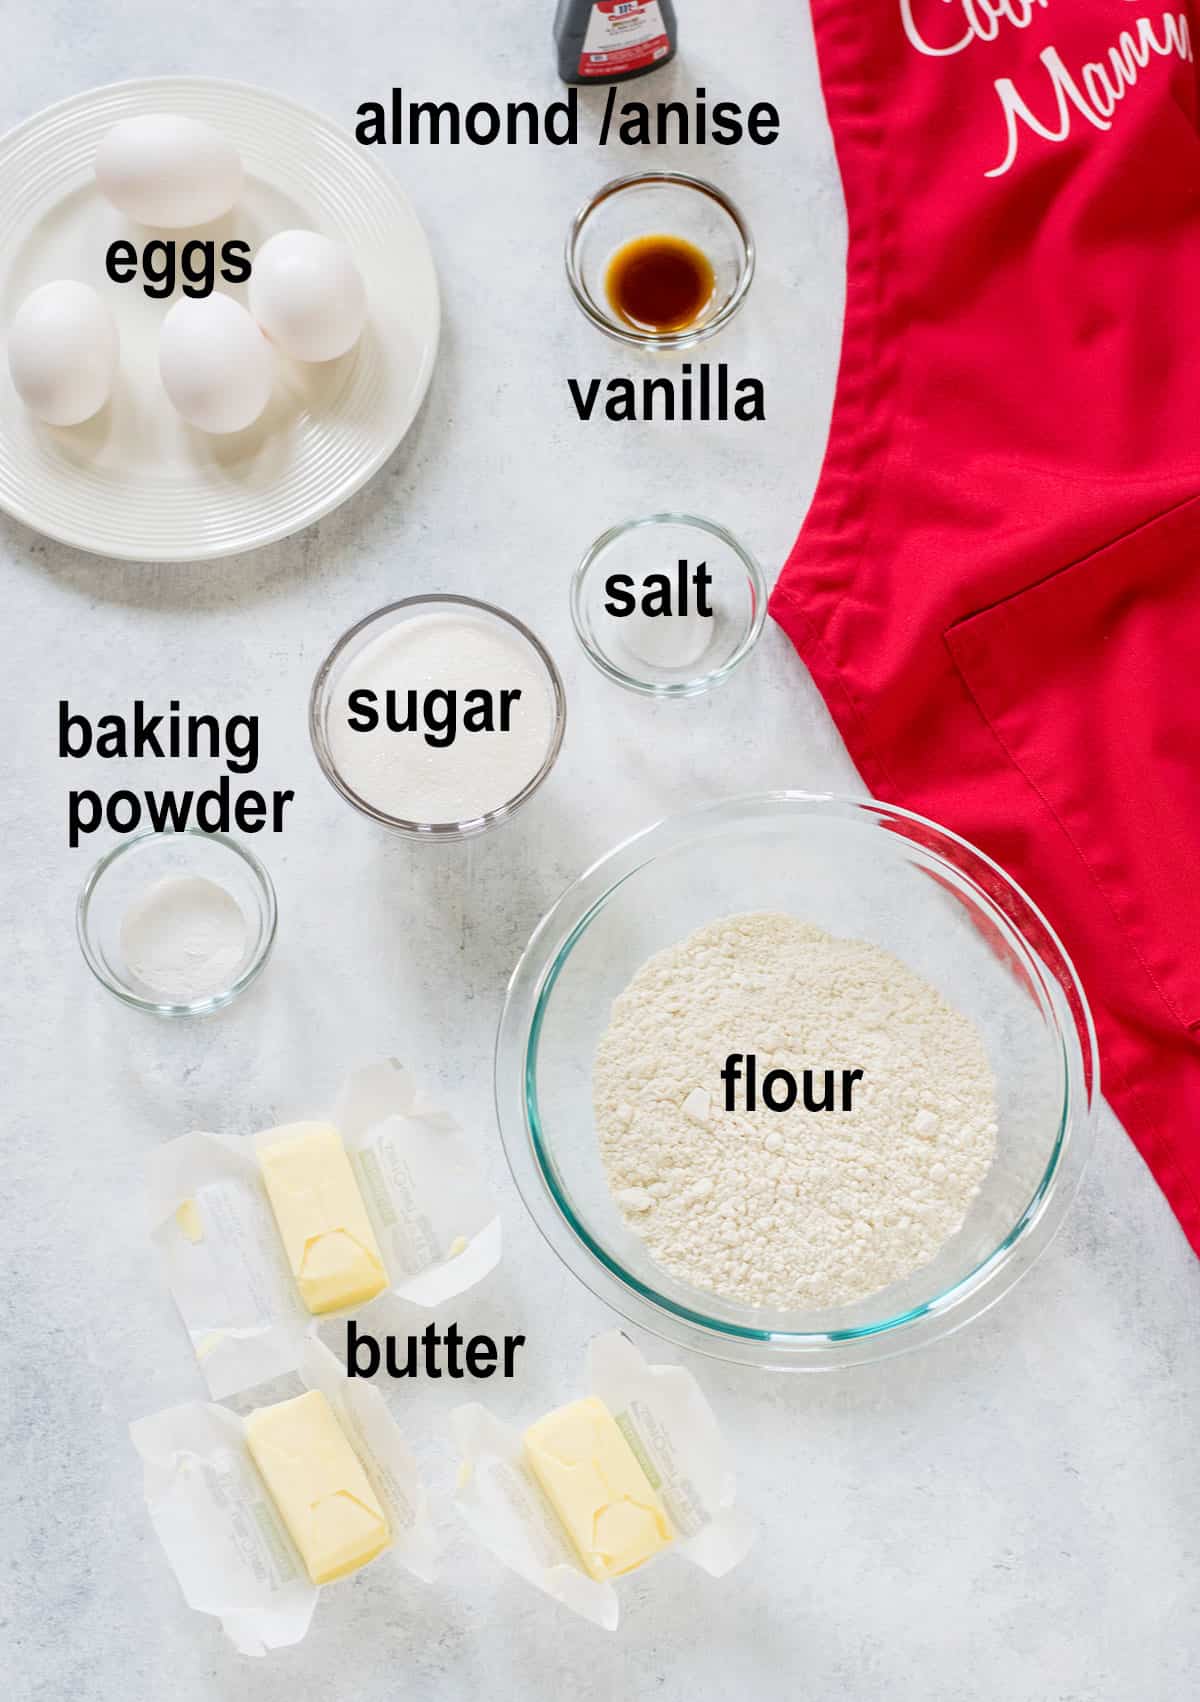
Butter: This recipe uses more butter than some others, but it produces the most delicious pizzelle cookies. Use salted butter for best results.
Salt: A tiny bit of salt enhances the taste of these pizzelle. It makes the flavors pop!
Almond Extract: Hands down, this is the best flavor for pizzelle, in my opinion! I've provided the instructions for anise pizzelle in the recipe card, but the almond was a gamechanger for me.
When I first developed this recipe several years ago and tasted its deliciousness, I ate more pizzelle cookies in one afternoon than I had in my entire life!
I wasn't the only cafone, though. My hubby kept swooping in to steal pizzelle as I admonished him, with crumbs on my mouth, to SAVE SOME FOR THE PHOTOS!
Vanilla: Using vanilla in addition to the almond or anise extract provides the perfect balance. Don't skip it!
Variations: You could try making vanilla pizzelle by adding extra vanilla and skipping the almond. Or, try using two teaspoons of lemon or orange extract in place of the almond/anise.
How to make pizzelle cookies
(See the recipe card at the bottom of this post for full instructions, but here's an overview.)
Start by preheating your pizzelle iron.
Make the batter
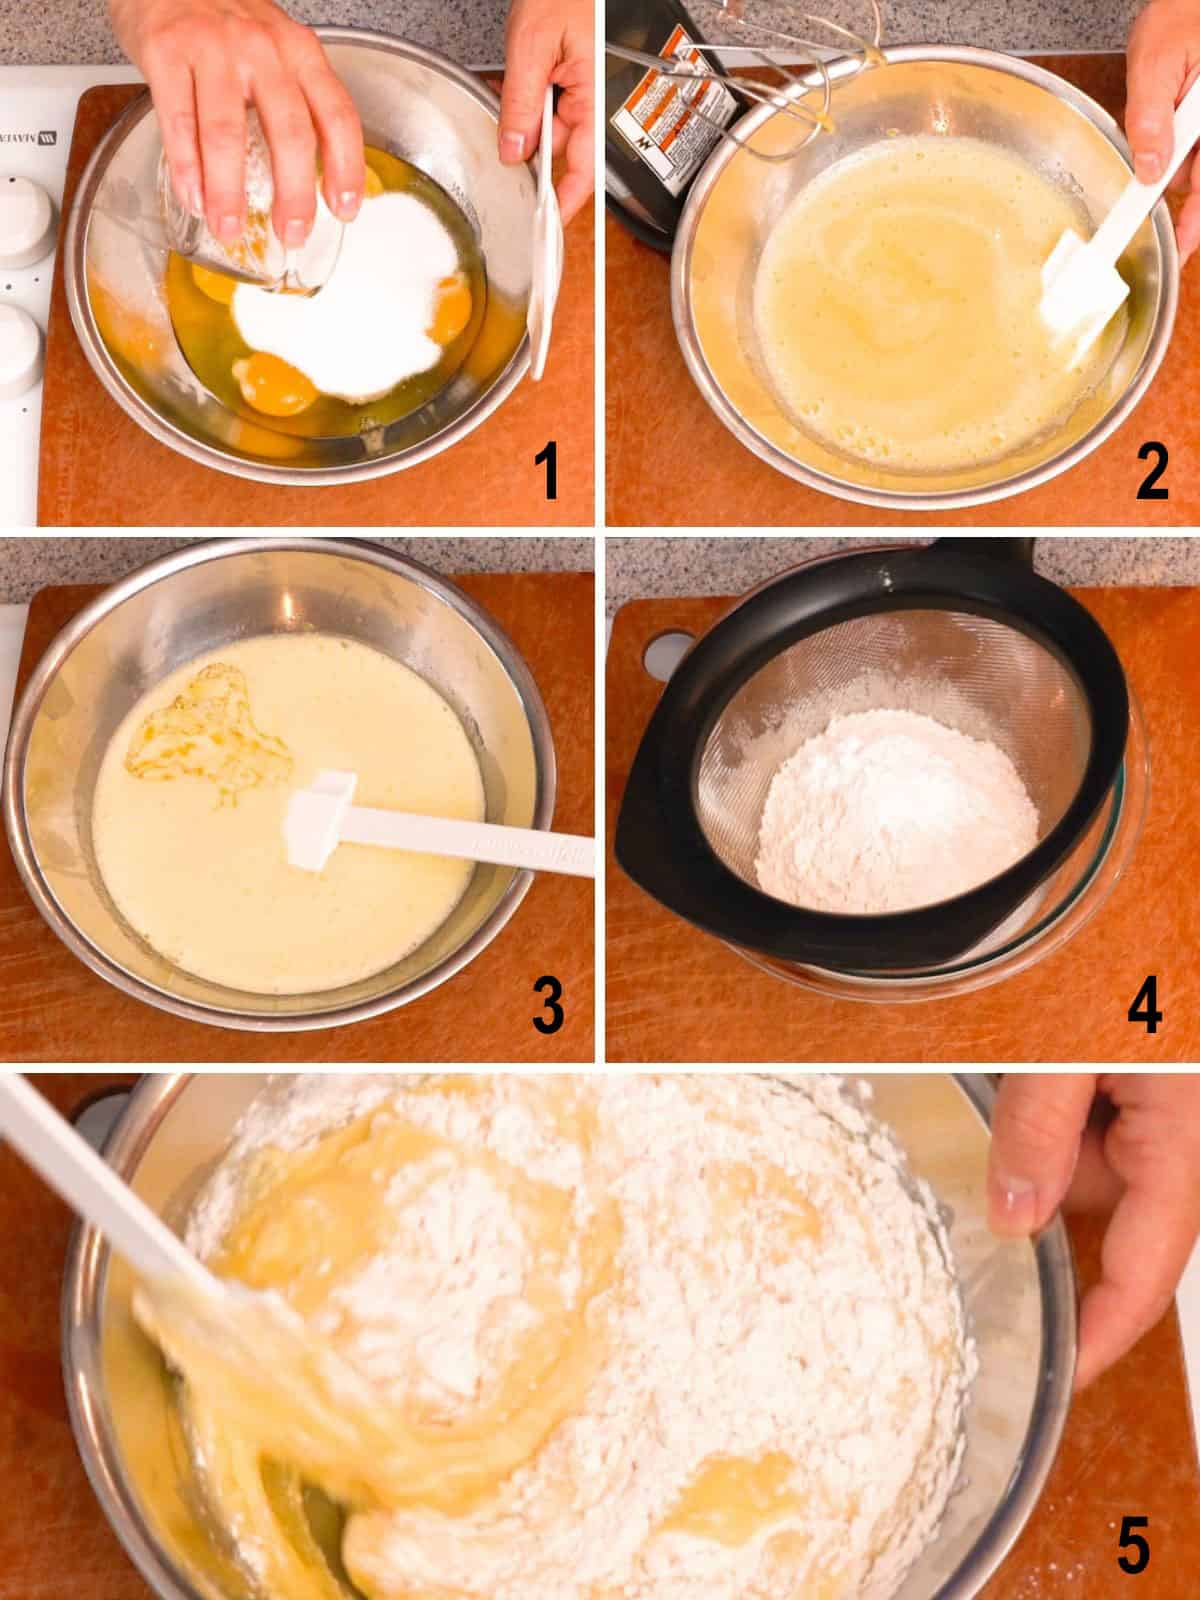
- Add eggs and sugar to a medium mixing bowl.
- Beat with a mixer until pale yellow.
- Add melted butter, vanilla and almond extracts. Beat until combined.
- Sift flour, baking powder and salt into a small mixing bowl. Stir to combine.
- Fold the flour into the egg mixture in two batches, until no streaks remain.
Cook the pizzelles
Follow the instructions for your pizzelle maker, for best results. You may need to grease the heated iron with cooking spray.
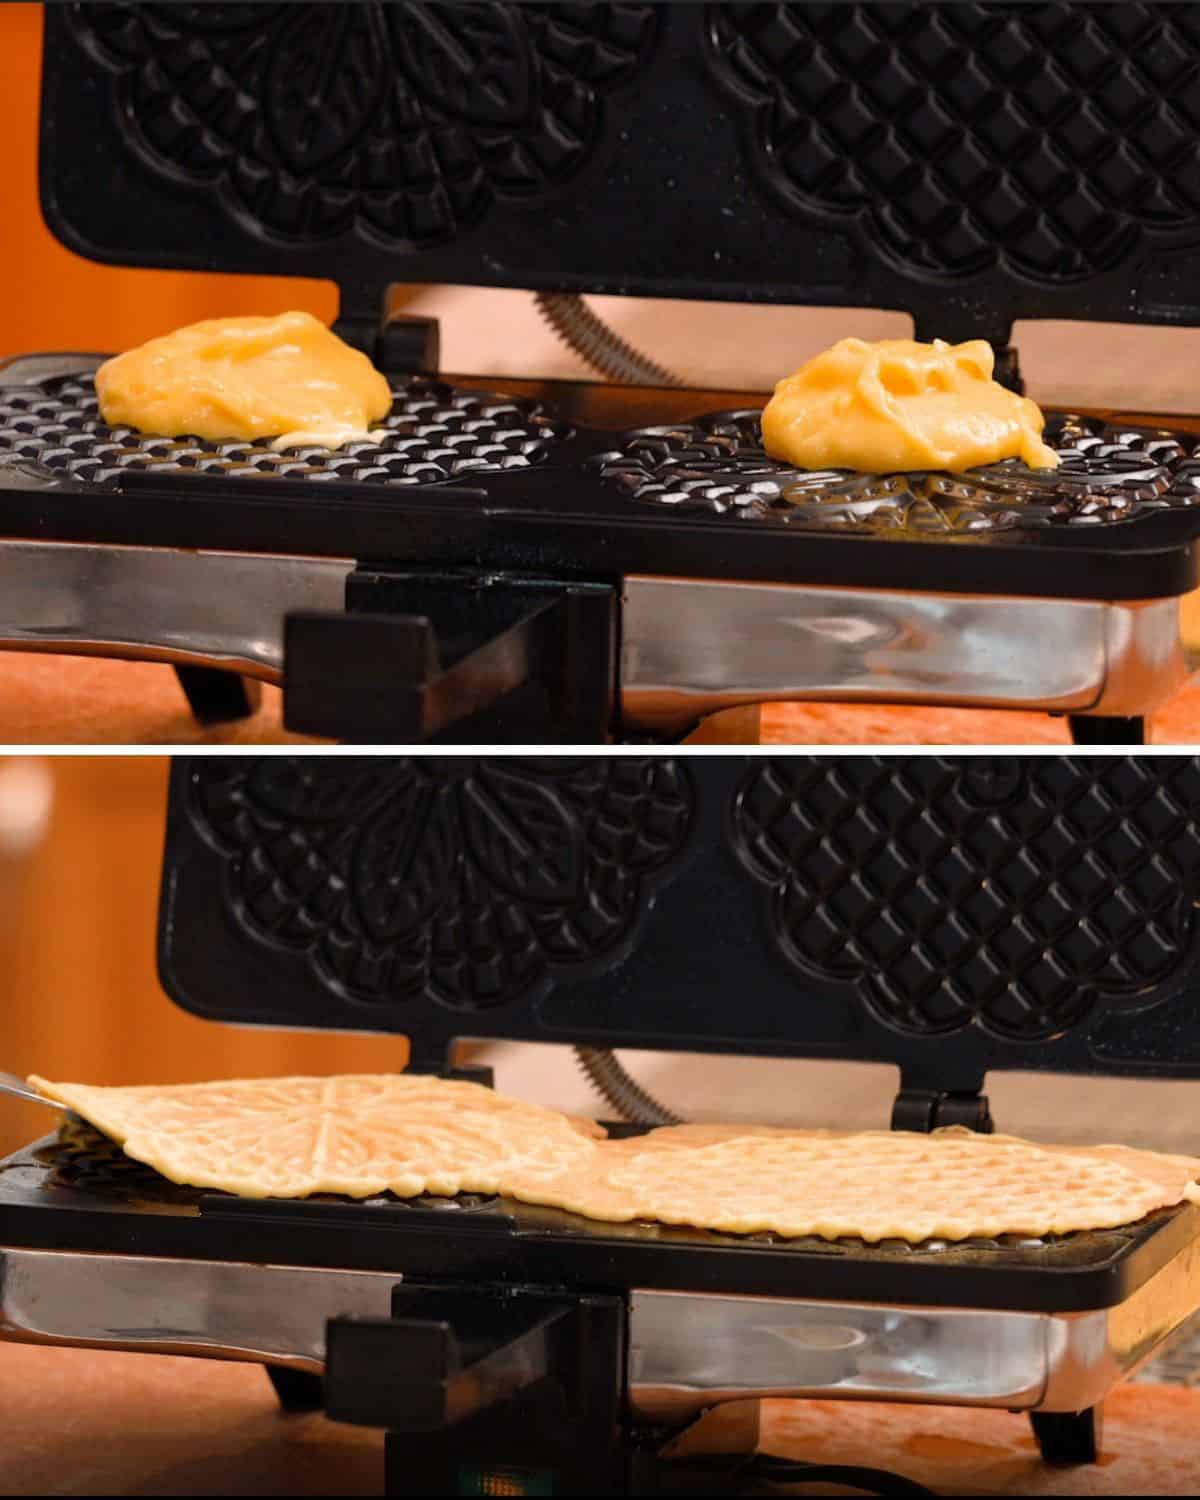
- Scoop a heaping tablespoon of pizzelle batter just above the center of the snowflake design on each plate of the iron. A cookie scoop (affiliate link) works easiest, but you could use a heaping measuring spoon and scrape out the batter with another spoon.
- Close the press and let the pizzelle cook until they're golden brown. It could take up to 90 seconds, but check on them after 40 seconds or so.
- Use a spatula to place the hot pizzelle on a wire cooling rack (affiliate link), in a single layer.
- When cool, separate any pizzelle that are connected to each other by gently breaking them apart in the middle. Use your fingers to gently break off any excess crust around the edges of the snowflake pattern.
How to serve pizzelles
Pizzelle cookies might be one of the most versatile Italian desserts! Serve them for Thanksgiving, Christmas, Easter, weddings, or just because.
You can serve them plain, with a dusting of powdered sugar, or my favorite way ― with a dollop or more of whipped cream. So good!
If you want to get creative, you can mold the pizzelles while they're still warm and pliable:
- Mold them around ramekins to make edible sundae cups. Fill with mousse, custard or ice cream, and top with Italian Strawberries with Sugar and Lemon.
- Wrap them around dowels to make pizzelle cannoli shells. You can even dip the ends in melted chocolate.
- Form them into cones, and when cooled, place a tiny marshmallow in the bottom of each one to prevent leaks. Fill them with ice cream or whipped cream.
Yum!! Be sure to invite me over!
Storing and freezing
When they're completely cool, store the pizzelle cookies at room temperature in an air-tight container for several days. Mine stay crisp even in a plastic container, but if you prefer, you could store them in a cookie tin or large coffee can.
To freeze, wait until the pizzelle cookies are completely cool. Wrap up to six at a time in plastic, then place them in a container to protect them from breaking. Freeze them for up to three months.
Choosing a pizzelle maker
The thickness of your pizzelle will depend on your pizzelle press. If you want thin wafers, as pictured in this post, go for one with shallow grooves in the snowflake design. If you prefer thicker pizzelle, you'll need an iron with deeper grooves.
We use this pizzelle iron (affiliate link), which makes thin pizzelle. It has a wire clasp to help keep the pizzelle press closed, but it's challenging for anyone with joint pain to hook and unhook repeatedly. So, we gently press down the top handle instead.
If you'd rather get a pizzelle maker with a wide handle and no wire clasp, you could try this one or this one (affiliate links).
Frequently asked questions
If you want your pizzelle cookies to have a uniform shape and size, use a cookie scoop to portion out the same amount of batter each time. Place the batter right behind the center of the snowflake pattern (unless the instructions for your pizzelle iron state otherwise).
Wait until the cooked pizzelles have cooled off, then gently break off any excess crust around the edges of the snowflake design.
Make sure to cook the pizzelle until they're golden brown, otherwise, they'll be softer. I leave mine in the press for about 90 seconds, but you'll have to experiment with your pizzelle iron.
Thinner pizzelle stay crispier than thicker ones.
Also, it's important to let the pizzelle cookies cool in a single layer on a wire rack before stacking them. You don't want steam to make them soft.
More recipes you'll love
- Panettone (Italian Christmas Bread)
- Chocolate-Dipped Hazelnut Biscotti
- Tri-Color Italian Cookies
- Cloud Cookies with Pecans
- Torta Caprese (Flourless Chocolate-Almond Cake)
- Easy Almond Paste
Enjoy!
Be sure to watch the video of me making these Italian Pizzelle Cookies in my kitchen! And, if you try this recipe, be sure to leave a rating and comment!
Italian Pizzelle Cookies (Almond or Anise)
Ingredients
- 12 tablespoons salted butter
- 1 ¾ cups all-purpose flour (spoon it into the cup and level it off with a knife)
- ½ cup + ⅓ cup granulated sugar
- 2 teaspoons baking powder
- ⅛ teaspoon salt
- 4 extra-large eggs
- 1 tablespoon + 1 teaspoon almond extract (see notes for anise variation)
- 1 teaspoon vanilla extract
Instructions
- Heat your pizzelle press according to the manufacturer's instructions.
- Add the butter to a microwaveable bowl and melt the butter in the microwave, covered.
- In a medium bowl, beat the eggs and sugar for at least three minutes, until the color is lighter yellow.
- Add the melted butter, almond extract and vanilla extract to the egg mixture. Beat until blended.
- Sift the flour, baking powder and salt into a small mixing bowl. (I place a large, fine-mesh strainer over a bowl, add the dry ingredients to the strainer and gently shake the strainer to sift the flour.) Give the flour mixture a stir with a spoon.
- Fold half of the flour mixture into the egg batter. (Use an under-and-over motion with a rubber spatula.) When that is combined, fold in the remaining flour mixture, just until incorporated.
- Follow the instructions in your pizzelle press manual for how to cook the pizzelle. Grease your pizzelle iron with cooking spray if required.
- Place one heaping tablespoon of batter onto each of the pizzelle plates on your iron, starting just behind the center of each plate (check your manual for where to place the batter.) If you have a cookie scoop with capacity for two tablespoons, use that for ease and uniformity. (Make a couple pizzelle to see how much batter works best with your iron.)
- Cook the pizzelle until golden, or according to your preference. (Mine takes around 90 seconds.) It's likely that the two cooked pizzelle will be connected by excess batter. Leave them that way for now.
- Use a spatula to remove the cooked pizzelle from your iron and transfer them to a wire rack to cool. The pizzelle will be very hot. (See notes if you want to shape the pizzelle into bowls, cones or cannoli shells.)
- Continue making more pizzelle until you have used up the batter. You can stack any cooled pizzelle to make room on your cooling rack.
- When the pizzelle have cooled completely, gently separate each pair of pizzelle and break off any excess crust around the edges of the snowflake pattern with your fingers. (I don't recommend scissors, because the pizzelle will break.) You can eat the pieces you broke off.
- You can serve the pizzelle cookies plain, with a dusting of powdered sugar or with a dollop or more of whipped cream.
- Store the cooled pizzelle in an airtight container at room temperature. Mine stay crisp even in a plastic container, but if you prefer, you could store them in a cookie tin or large coffee can. They should keep for several days. To freeze, wait until the pizzelle cookies are completely cool. Wrap up to six at a time in plastic, then place them in a container to protect them from breaking. Freeze them for up to three months.
Video
Notes
- Mold them into edible sundae cups by using ramekins or the bottom of a muffin pan. Fill with mousse, custard or ice cream, and top with Italian Strawberries with Sugar and Lemon.
- Wrap them around dowels to make pizzelle cannoli shells. You can even dip the ends in melted chocolate.
- Form them into cones, and when cooled, place a tiny marshmallow in the bottom of each one to prevent leaks. Fill them with ice cream or whipped cream.
Nutrition
(Recipe Source: Adapted from my Mom's recipe. I added salt, used all butter instead of mostly margarine, and substituted almond extract for the anise. Originally published on December 14, 2017 and updated now with additional photos and information, plus a video. )



GSavery
How many does it make?
Mamma C
Hi GSavery - This recipe makes 40 pizzelle.
Debi C
You give amount for anise extract which I find not the be flavorful enough. It was suggested I use the anise oil. What amount should I use? Also, I was recently given an anise pizzelle recipe that originally called for cinnamon, but she wrote in butternut extract instead. I’ve never seen using either of these ingredients before. This is an old Italian recipe probably from around the 1940’s. Any information you can give is appreciated.
Mamma C
Hi Debi - I haven't tried it with anise oil, but I'd go with one teaspoon of it in place of the tablespoon of extract. People flavor pizzelle with all kinds of extracts and spices, so it's a matter of experimenting to see what you like. You can divide the batter into two or three parts and try some cinnamon in one part. You could even sprinkle cinnamon on the cooked pizzelle. Enjoy.
Karen
Awesome recipe. Thank you
Mamma C
Hi Karen - You're welcome! I'm glad you enjoyed the pizzelle.
Patti
We just got our Pizzelle Press. These are delicious and crispy just like we buy in the Italian store. I just need to perfect my positioning of dough on the grill . Thanks so much!
Mamma C
Hi Patti - I'm so glad to hear that! Have fun practicing!
Tammy Adkins
I tried this recipe for the first time yesterday which was Christmas Day 2021 and these cookies turned out amazing! I do not prefer the recipe that my mom and dad used as I was growing up. I remember never really liking them but I was a great welder I realized it was kind of an incomplete recipe probably why I didn’t like them but they were also made with oil instead of butter. I tried a recipe last year that I really liked but I have found that this recipe is so much crisper and thinner. This is now my go to recipe for pizzelles
Mamma C
Hi Tammy - I love hearing that! I can relate, because I never liked pizzelle until I started making them this way.
Rocco Camarillo
You have two items that have seperate portions in the recipe. You have the sugar seperated to 1/2 a cup and 1/3 cup and the Almond extract at 1 tablespoon and 1 teaspoon. I am guessing the larger portions go into the batter so where do the lesser portions get added? Thank you.
Rocco
Mamma C
Hi Rocco - Those are the total amounts to add to the batter. Measure out 1/2 cup of sugar and add it. Then measure 1/3 cup of sugar and add it. I thought it would be easier than saying .8333 cup of sugar. For the almond extract, the total is 4 teaspoons (1 Tablespoon plus 1 teaspoon.)
Ann
To avoid the outer edges go over the design. I use less batter to make each
Pizzelle. It’s will save you time trying to clean up edges.
Mamma C
Hi Ann - Thanks for sharing your tip.
Gloria Pendleton
I’m so excited to try your recipe! I just got my pizzelle iron and Your recipe came at the perfect time. Thank you for sharing!
Mamma C
Hi Gloria - Oh, good! I hope you enjoy my pizzelle recipe!