

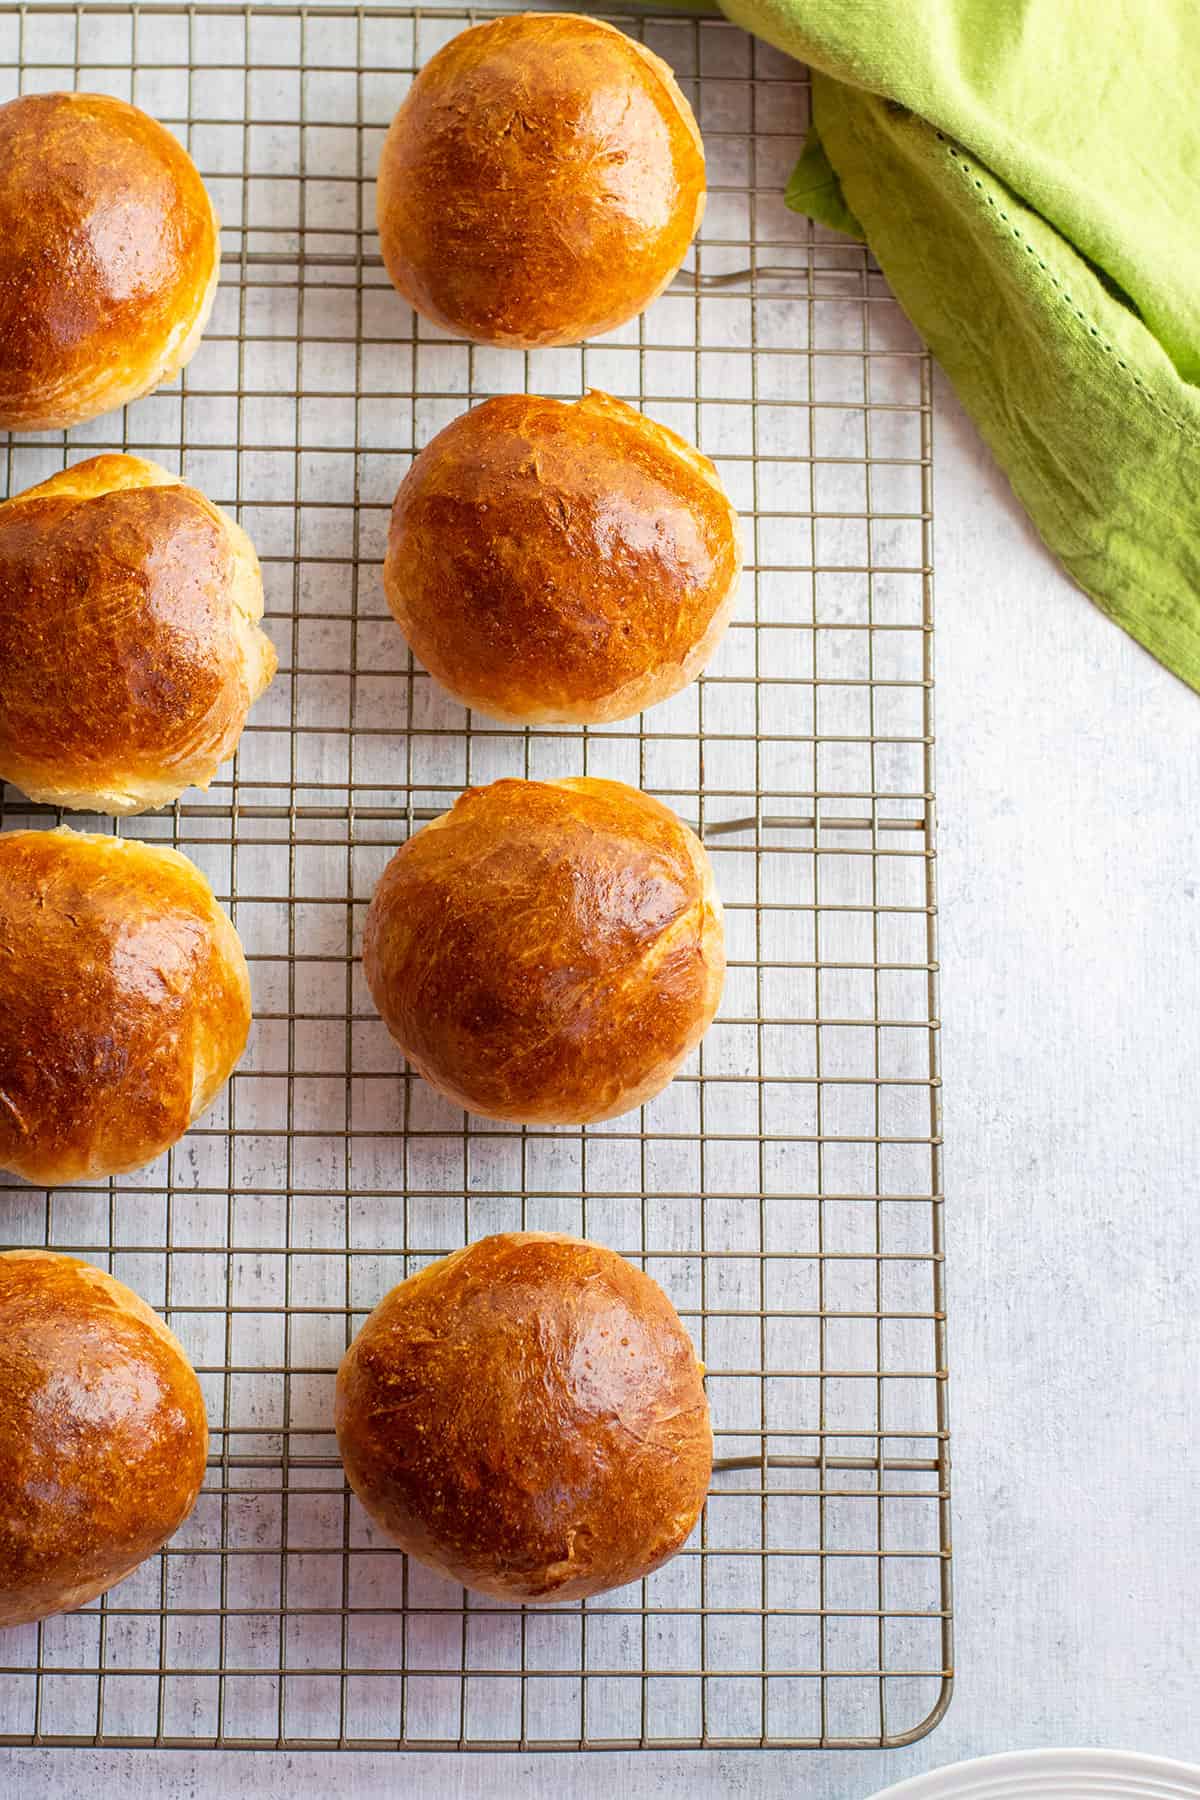
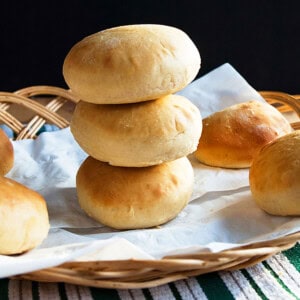
You'll love these Crusty Italian Rolls! They're firm, brown and crispy on the outside, and tender on the inside. They're one of my favorite Italian Bread Recipes!
These Crusty Italian Rolls will spoil you.
Forget mushy, cafeteria-style buns. These hard rolls are dark brown and crunchy on the outside and taste like a fresh loaf of homemade Italian bread.
It's so easy to make the dough if you have a stand mixer (affiliate link) to knead it, but it's not necessary. And it's fun to roll the dough into balls!
I can't wait for you to try this recipe!
Recipe ingredients
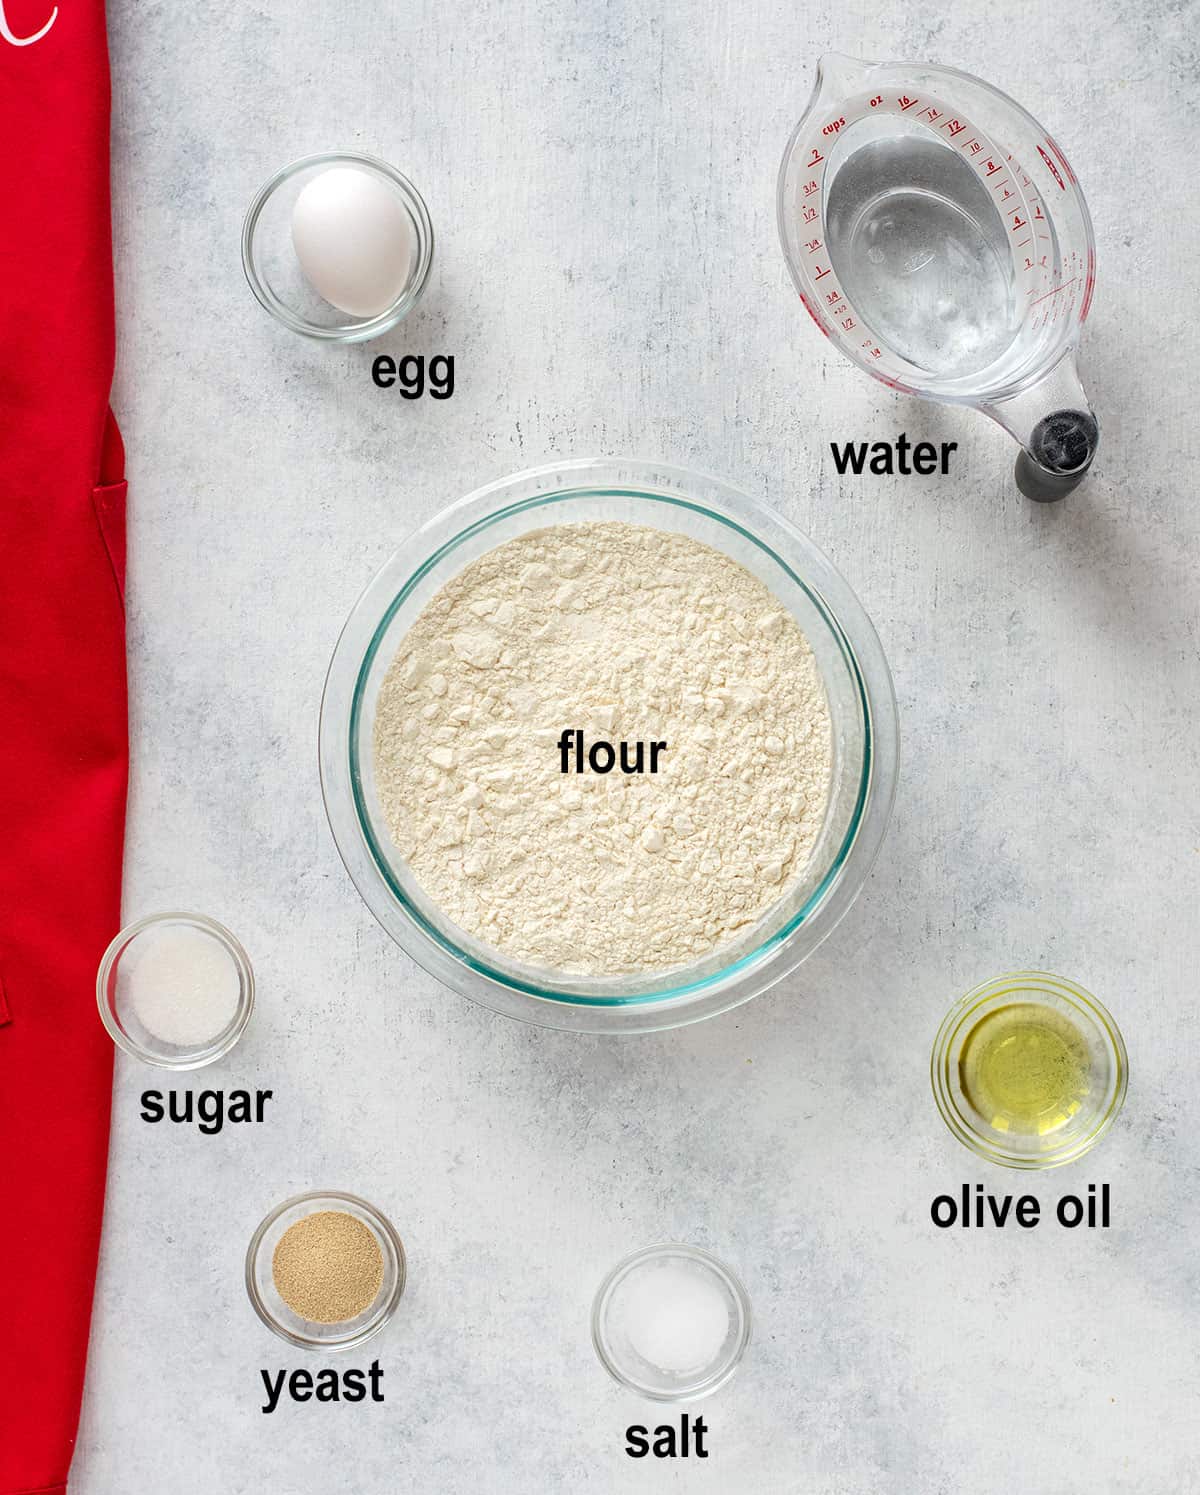
Flour: All-purpose flour works well for these rolls, but you could use bread flour for a chewier result.
Yeast: I prefer the convenience of instant yeast (affiliate link) since it can be mixed at the same time as the other ingredients and rises more quickly.
If using active yeast, you'll have to proof it first to activate it. I've included those instructions in the recipe card.
Egg: Brushing the balls of dough with an egg wash gives these rolls a gorgeous sheen! This isn't a mandatory step, but it makes eye-catching rolls that look extra delicious.
How to make it
See the card at the end of this post for the full recipe, but here's an overview.
Make the dough
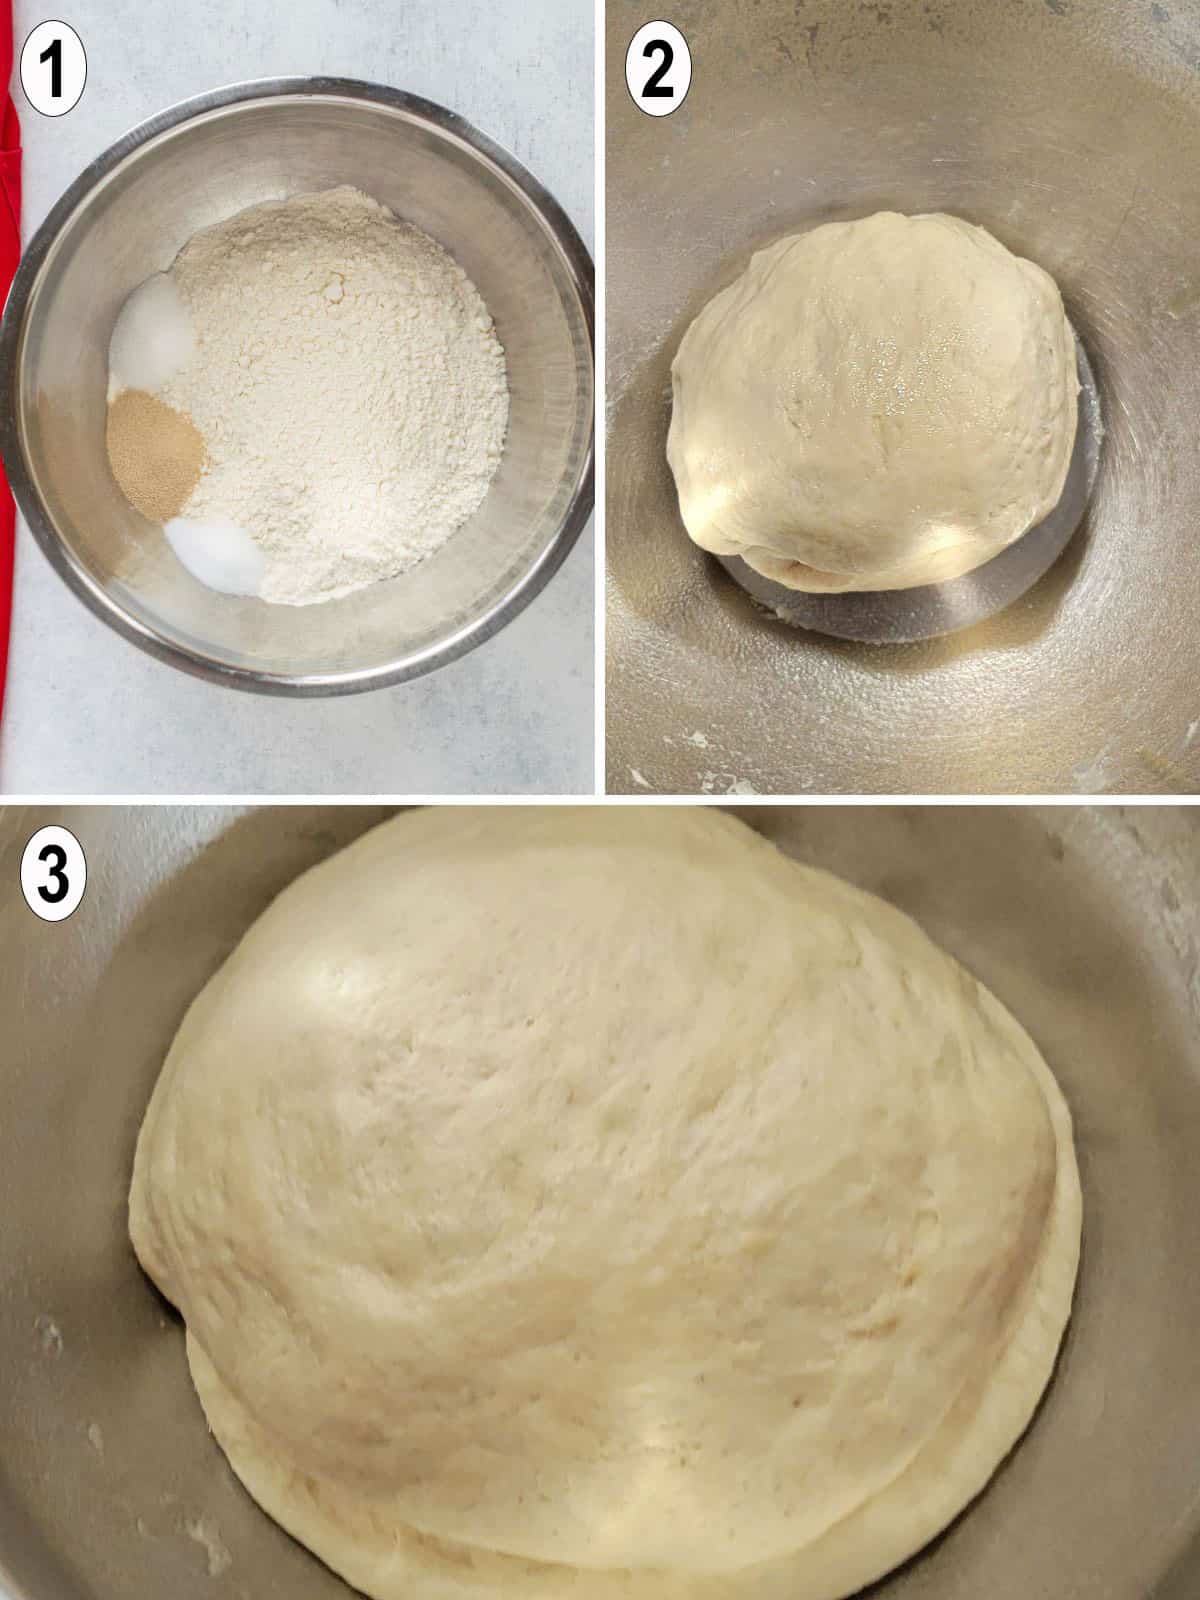
- Add the flour, instant yeast, sugar, salt, olive oil and warm water to the bowl of a stand mixer fitted with a dough hook.
- Use the stir setting for one minute, then knead on low for six minutes.
- Place the ball of dough in a greased bowl, cover it, and let it rise for two hours.
Prepare the dough balls and bake
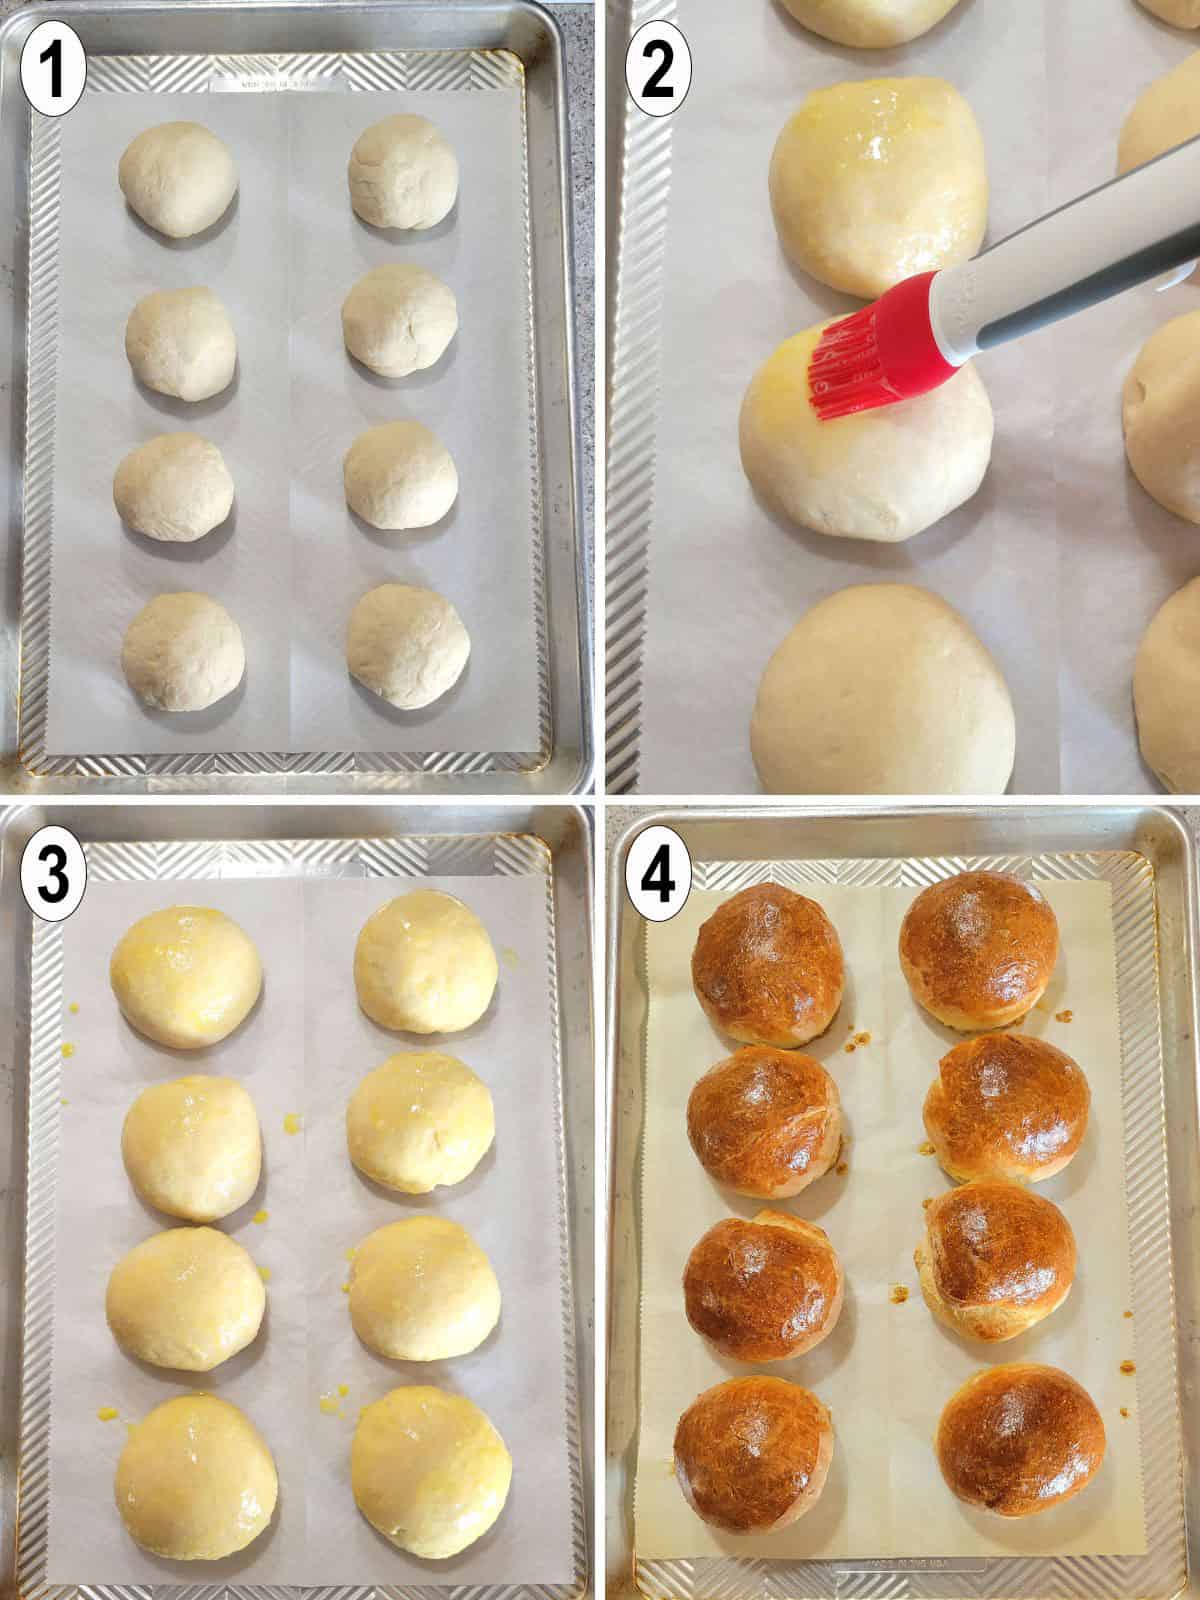
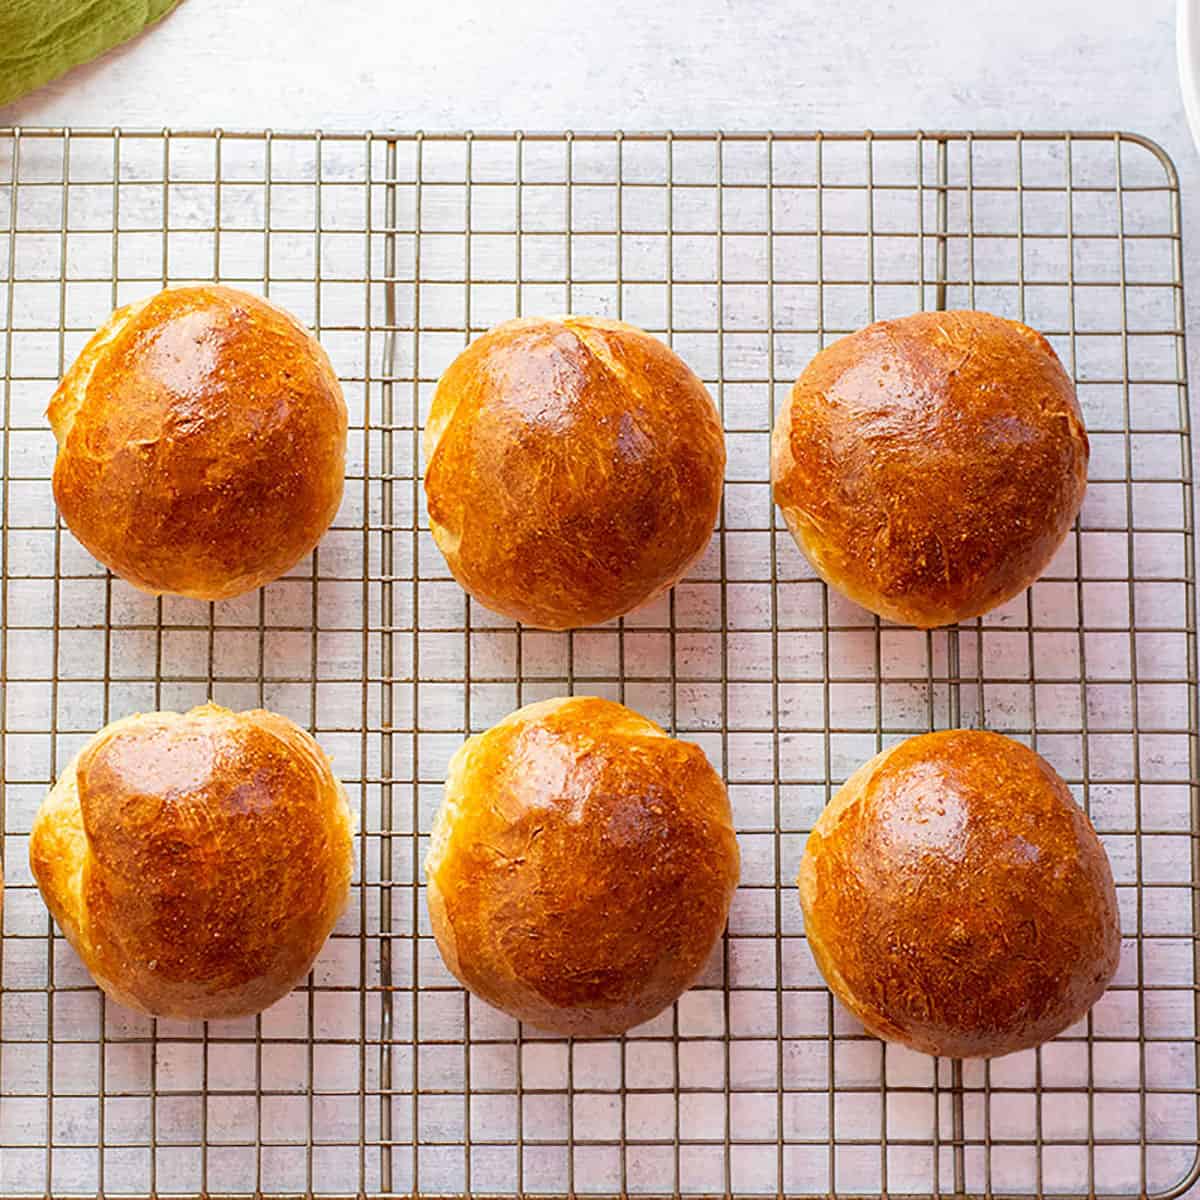
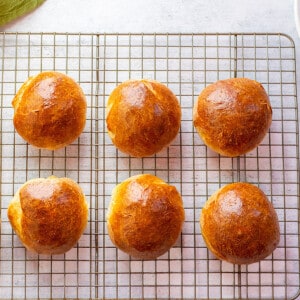
- Divide the dough into eight equal pieces and roll them into balls.
- Cover the dough balls and let them rise for 40 minutes. Then brush the surface of them with a beaten egg.
- Place the tray of rolls in the oven and bake as directed in the recipe card.
- The rolls should be a deep, brown color when done.
Recipe tips
- To make crusty rolls, bake them with a pan of hot water on the bottom rack. The steam will make them crusty!
- This recipe yields eight Italian dinner rolls. They're perfect for sliders or moderately sized sandwiches. For larger Italian sandwich rolls, you can use the same amount of dough but just roll it into four balls. You can even make four regular-sized rolls, plus two larger ones.
What to serve with it
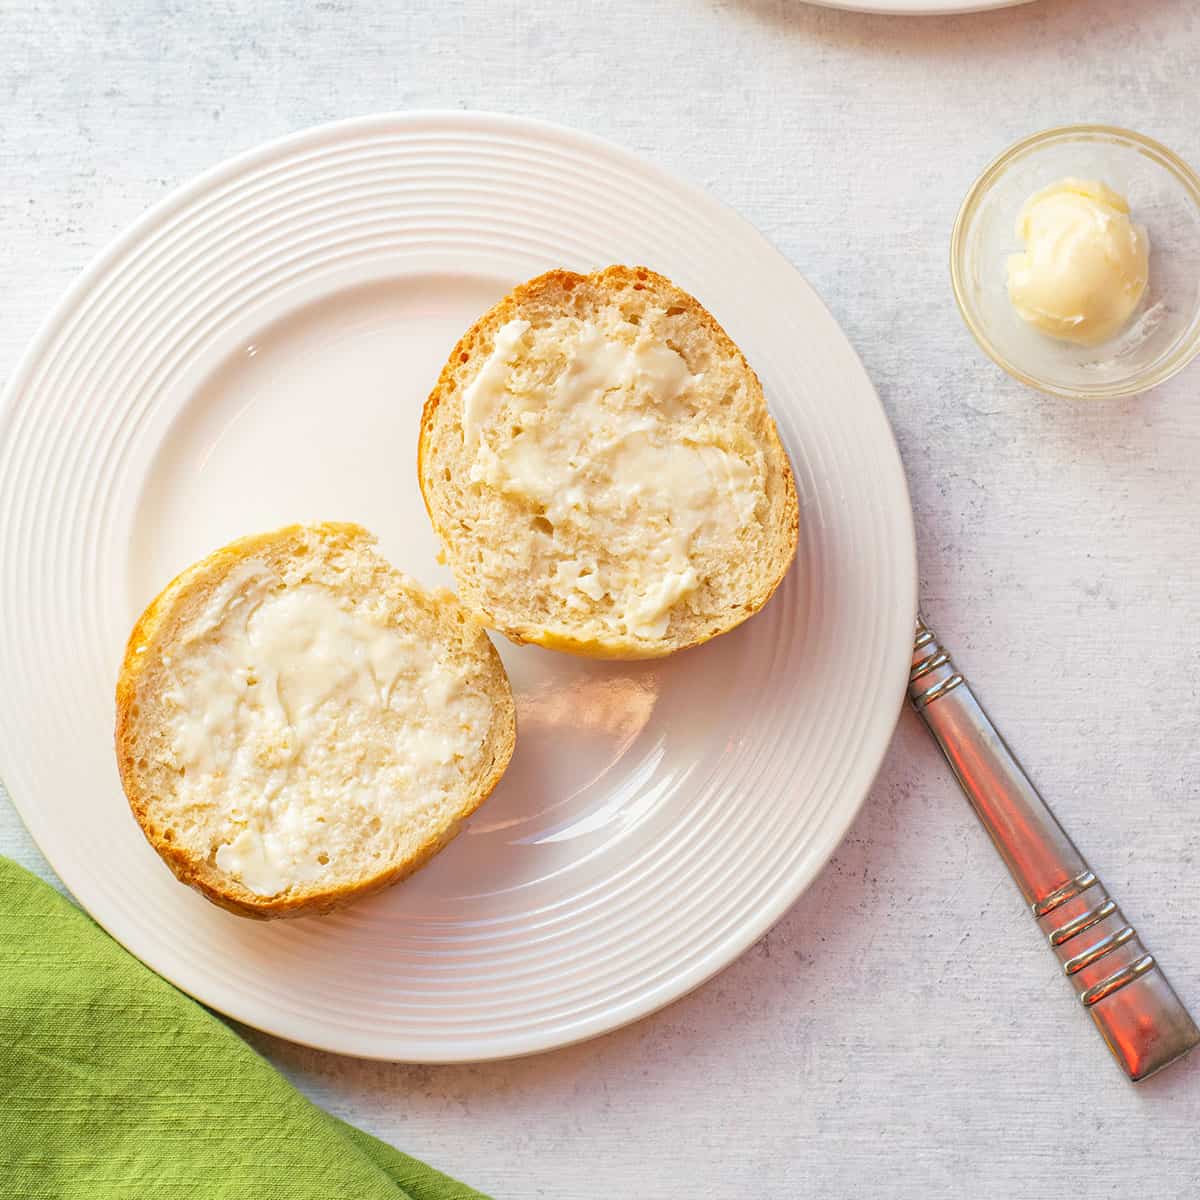
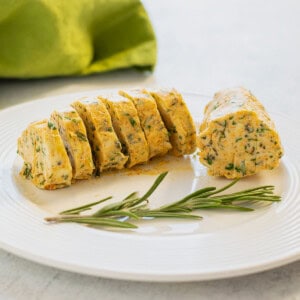
You can serve these homemade Italian rolls for Easter or any holiday with a side of butter. Or, dunk them in dipping oil. You also could use them for parties and stuff them with Carolina pulled pork.
And, these Crusty Italian Rolls are the perfect size for beef meatball sandwiches! They'd also be delicious filled with pan-fried eggplants in tomato sauce or breaded chicken cutlets with peppers in oil.
Of course, you could use them with turkey breast lunch meat, stovetop corned beef or any cold cuts.
And don't forget to mop up Sunday tomato sauce with them!
How to store rolls
Store the Italian rolls at room temperature, wrapped in plastic and then placed in a brown bag. They're best eaten by the next day or so for freshness but can stay out for a few days. For maximum freshness, freeze leftover rolls in a zip-top freezer bag the first day.
More recipes to try
- Bread Machine Italian Bread
- Artisan Italian Bread
- Italian Sausage Bread
- Italian Semolina Bread
- Parmesan Focaccia with Rosemary
- Casatiello (Neapolitan Easter Bread)
Enjoy!
If you try this Crusty Italian Rolls recipe, please leave a comment and a rating!
Crusty Italian Rolls
Equipment
Ingredients
Dough
- 3 ⅓ cups all-purpose flour (Measure by scooping the flour into the cup, then leveling it off with a knife.)
- 2 ¼ teaspoons instant yeast (see notes if using active dry yeast)
- 2 teaspoons granulated sugar
- 1 ½ teaspoons salt
- 1 tablespoon olive oil
- 1 ¼ cups warm water
Egg Wash:
- 1 egg (optional)
Instructions
- Add the flour, instant yeast, sugar, salt, olive oil and warm water to the bowl of a stand mixer, if you have one. Otherwise, use a large mixing bowl.
- If using a stand mixer with dough hooks, start the machine on "stir" for one minute. Then switch to a low speed (speed 2 on a Kitchenaid mixer) to knead the dough for six minutes. The dough should pull away from the sides of the bowl and come together.
- If kneading by hand, stir with a spoon, then knead the dough on a clean, floured work surface for at least six minutes.
- When you are done kneading, grease the mixing bowl with cooking spray (you can use the same bowl without cleaning it first.) Place the ball of dough in the greased bowl and roll it around to coat it a bit with the oil.
- Cover the bowl with plastic wrap and let the dough rise for two hours at room temperature.
- After two hours, peel back the plastic and gently punch down the dough. On a floured work surface, cut the dough in half with a straight-edged knife or dough cutter. Then cut those halves in half again until there are four pieces. Cut each of the dough pieces in half once more, until there are eight pieces of dough.
- Roll each piece of dough into a ball (between your hands or roll it on a clean, unfloured surface). Pull the dough tautly across the domed top and pinch the bottom closed, then roll to smooth it.
- Place the dough balls on a sheet pan lined with parchment paper or a silicone baking mat (or grease the pan with cooking spray). Cover the balls of dough lightly with a lint-free towel and let them rise for another 40 minutes.
- When the dough balls have about 20 minutes left to rise, preheat your oven to 425 degrees F. Make a steam bath so the rolls will be crispier. Fill a 9x13 metal pan or cast iron pan halfway with hot water. (Avoid using a glass pan, if possible, because it could shatter.) Wearing oven mitts, place the pan with the hot water on the bottom rack of your oven.
- When the dough balls are done rising, beat the egg in a mug or small bowl. Brush the dough balls with the beaten egg. (You'll probably have some of the beaten egg left over and can discard it.) Place the pan with the rolls on the middle rack of the oven. Bake them initially for 10 minutes at 425 F.
- Lower the oven temperature to 400 degrees F, and bake the rolls for 12 minutes more, or until nicely browned. To check if they're done, remove the pan from the oven, and wearing gloves, flip over a roll. Take off one glove and tap the underside of the bun with your fingertips. If it sounds hollow, the rolls are done. If not, bake them a little more.
- Cool the baked rolls on a wire rack until they're no longer hot, then serve with butter, dipping oil or use them for sandwiches.
- Store the Italian rolls at room temperature, wrapped in plastic and then placed in a brown bag. They're best eaten by the next day or so for freshness but can stay out for a few days. For maximum freshness, freeze leftover rolls in a zip-top freezer bag the first day, once they've cooled off.
Notes
Nutrition
(Recipe Source: Cooking with Mamma C)

Coco says
Mamma C,
I must say I bake October-April (I live in NY so it’s cold). I usually bake tried and trued recipes and I came upon this one and I must say it’s delicious, very crunchy on the outside and soft in the middle. I used 1/2 bread flour and 1/2 AP flour it was great.
Thanks for the recipe 🥰
Mamma C says
Hi Coco - I appreciate your detailed feedback! You're welcome, and I'm so glad you enjoyed these rolls!
Ellie Parkinson says
I'm an experienced and avid baker...but this recipe seemed to have a lot of steps/and recipe instructions were a bit confusing [just my personal opinion]...but hoping its well worth it...in the taste and presentation of finished rolls.
Mamma C says
Hi Ellie - How did the rolls turn out? What steps would you suggest eliminating from the instructions? I try to be as thorough as possible in my directions so people can successfully make the recipe.
Ellie Parkinson says
I actually skipped the varying the oven temp, didn't set the oven as high as the recipe called for (set my oven closer to 350-375 degrees), and did away with the steaming process (with the pan of water). I found = with the egg wash - the rolls still turned out 'crispy/nicely browned' on the outside/tender & fluffy on the inside. My rising times were shorter, also - but I know that can depend on other factors. I had to read the "using active dry yeast" instructions and go back to the general instructions ~ as not to think I had to duplicate the same ingredients.
lol...THAT ALL BEING SAID: Rolls/and the loaves of French bread I also made with same dough (I had made a double batch of dough)...were good = nice taste & texture. Ellie
Mamma C says
Hi Ellie - Thanks for sharing your experience. I'm so glad you enjoyed the taste and texture!
Teresa says
Can you use bread flour, or is it better to use all purpose flour? Thank you.
Teresa
Mamma C says
Hi Teresa - Yes, you can use bread flour, if you want a more chewy result.
Bonita says
These rolls are the real deal, crusty on the outside and soft on the inside. They are very easy to make, the instructions are so very clear.
Mamma C says
Hi Bonita - I love hearing that! I try to make all of my recipe instructions very clear. Thanks so much for leaving a review.
Jeff Schutt says
Hi, we're making these rolls now. we are confused about step 7 in which you pull the dough taut and bring the flap over the dome. Can you clarify this for us? Thank you!
Mamma C says
Hi Jeff - Smooth out the domed top of the roll with two hands moving in opposite directions. Pinch the dough closed on the bottom.
Bull Larson says
I still don’t understand step seven. How do you smooth it out and pinch it closed? Still confused.
Mamma C says
Hi Bull - I don't have my own video on this, but here is one from YouTube that shows the process, starting one minute into the video.
Colette says
I just took em out of the oven. I love the procedure. Having them with burgers, can't wait!
Mamma C says
Hi Colette - Sounds great!
Brian A says
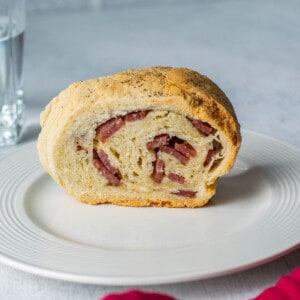
Hi Andrea … I had salami in the fridge yesterday and decided I’d like to make a sandwich using an Italian roll. I made your Crusty Italian Rolls using your recipe exactly as you wrote it, and they turned out great! They even looked like the ones in your photo. This is now my go-to recipe for sandwich rolls!
Mamma C says
Hi Brian - I'm so glad to hear that! I bet these were delicious with salami.