

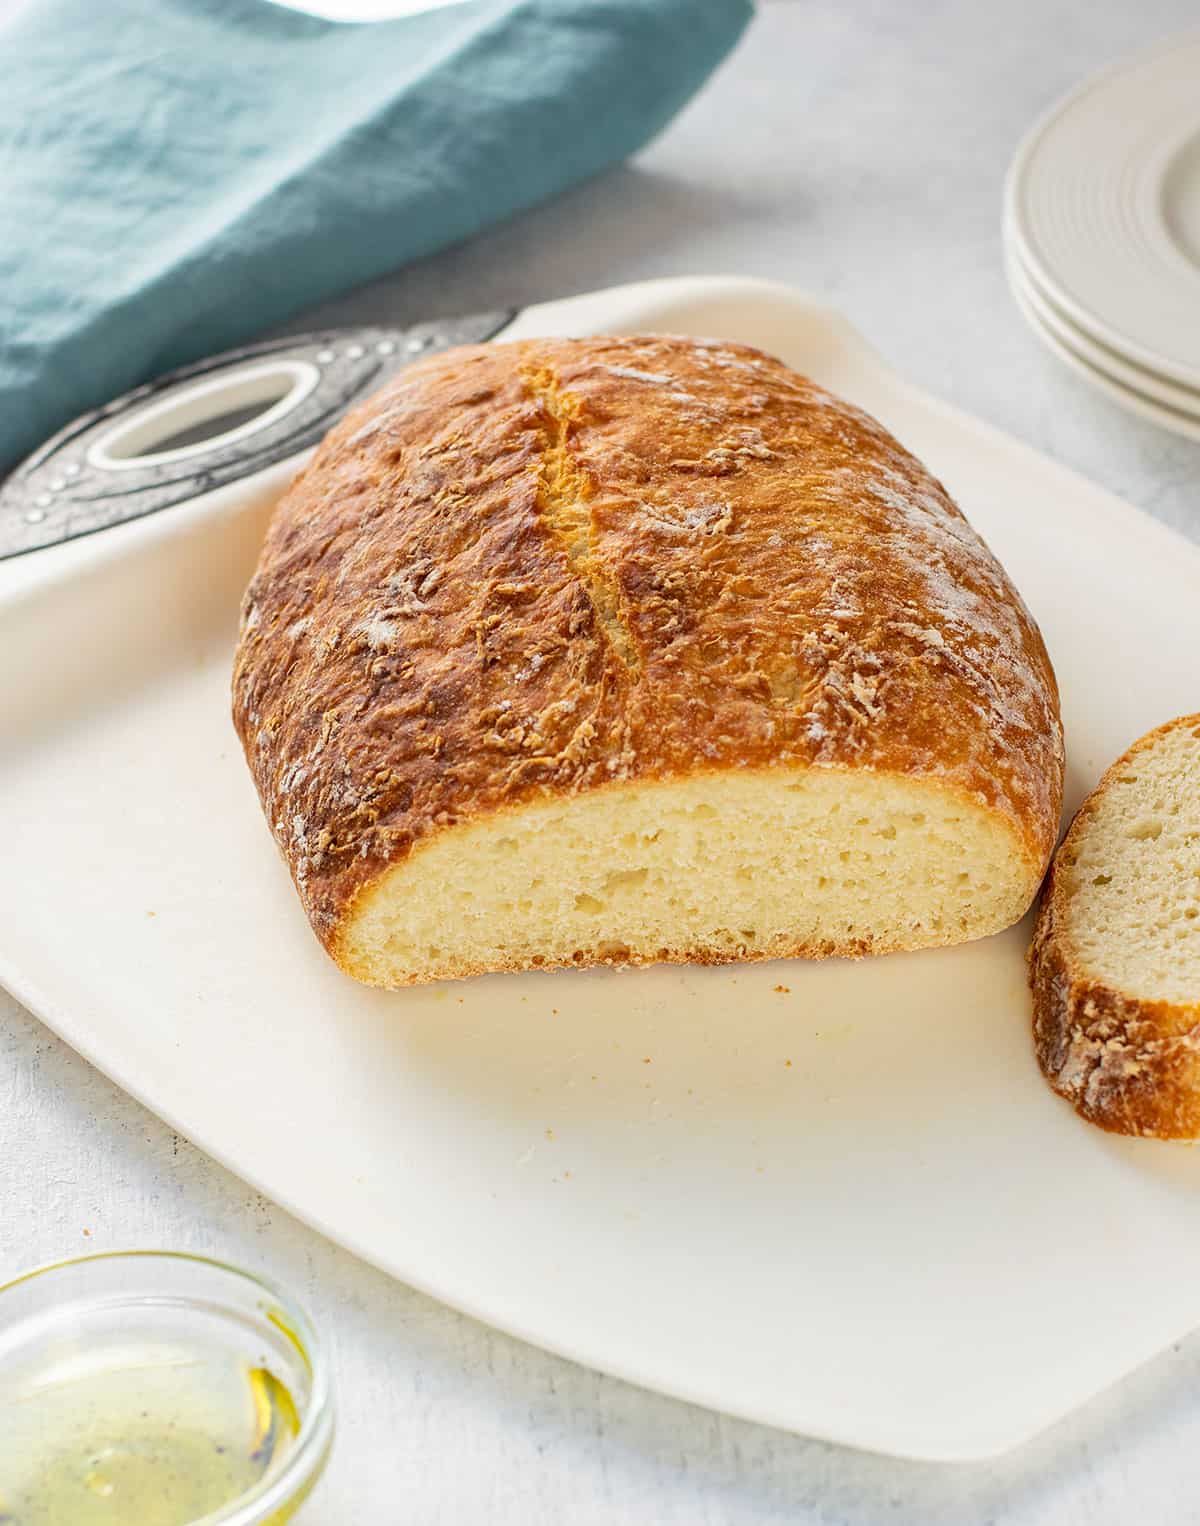
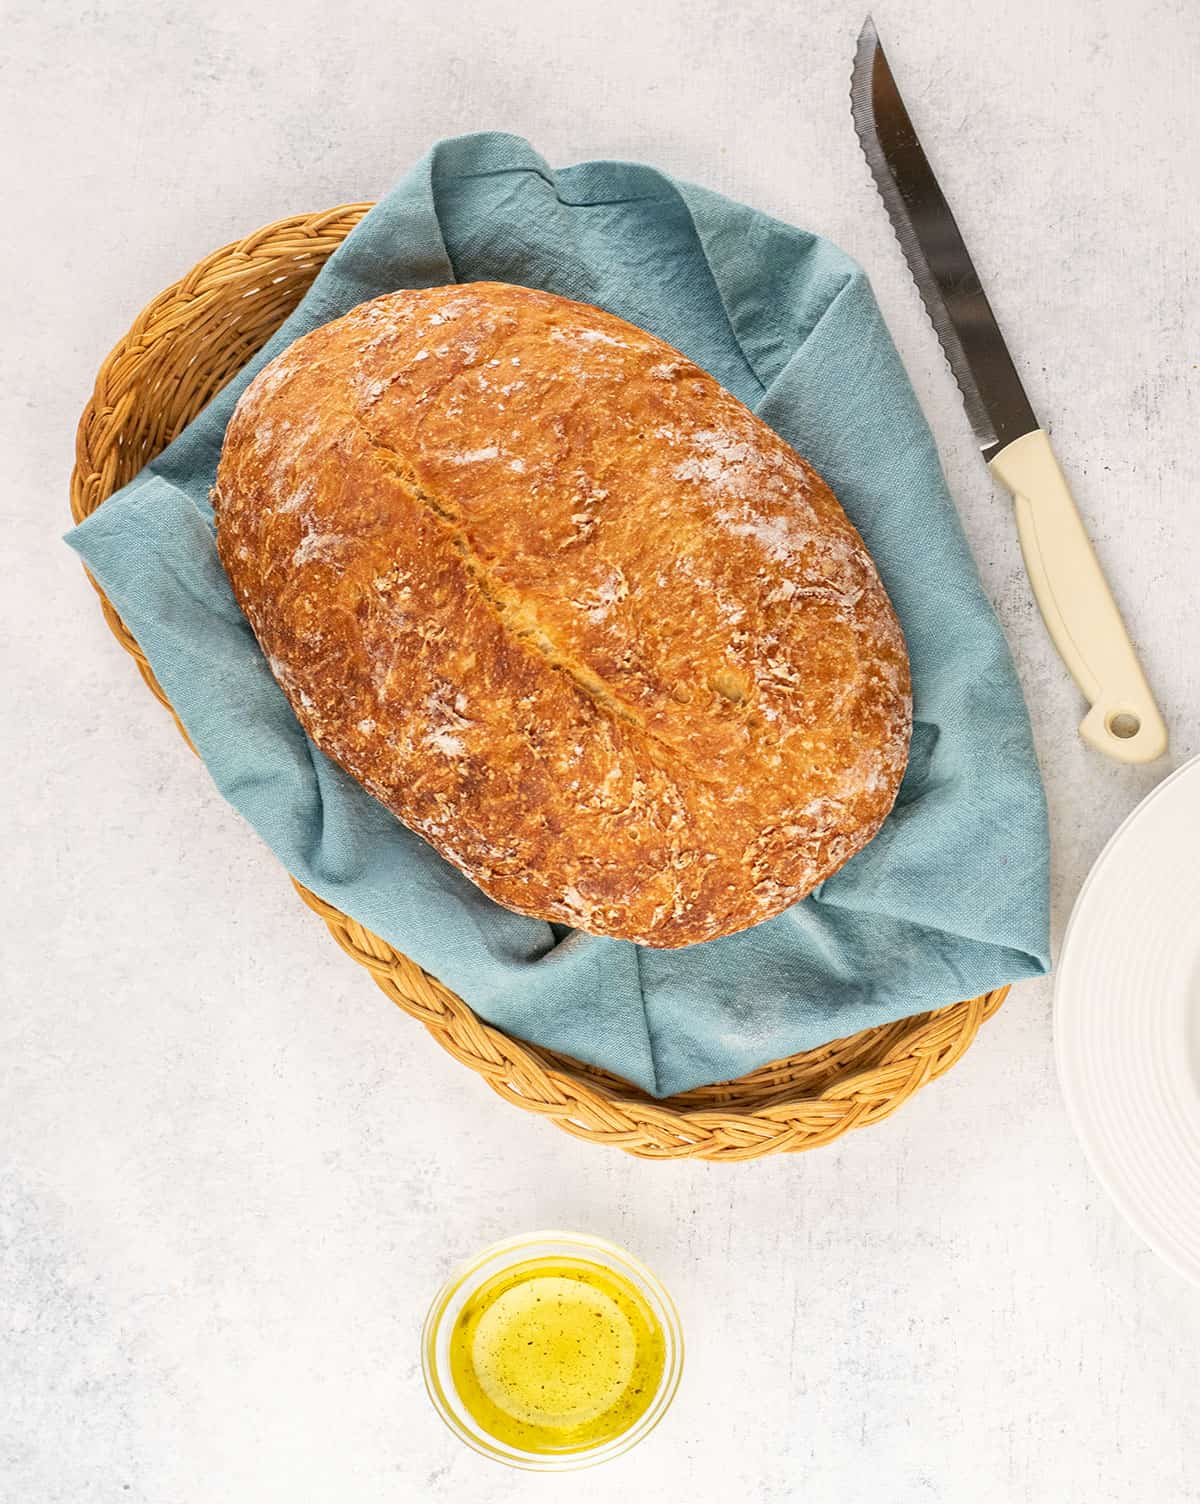
You can make Artisan Italian Bread in less than four hours without kneading it! You just stir the ingredients and let the dough rise. Shape it, let it rest, then bake! It's the easiest of my Italian Bread Recipes!
Say hello to your new BFF! Artisan Italian Bread requires no kneading, no fussing and no cussing.
That's because "artisan bread" means "made by hand." So you don't need a stand mixer. You're going to stir the ingredients in a bowl the old-fashioned way!
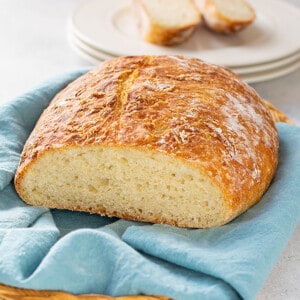
In less than four hours, you'll have a crusty, airy loaf of bread. And...it tastes incredibly delicious!
Recipe ingredients
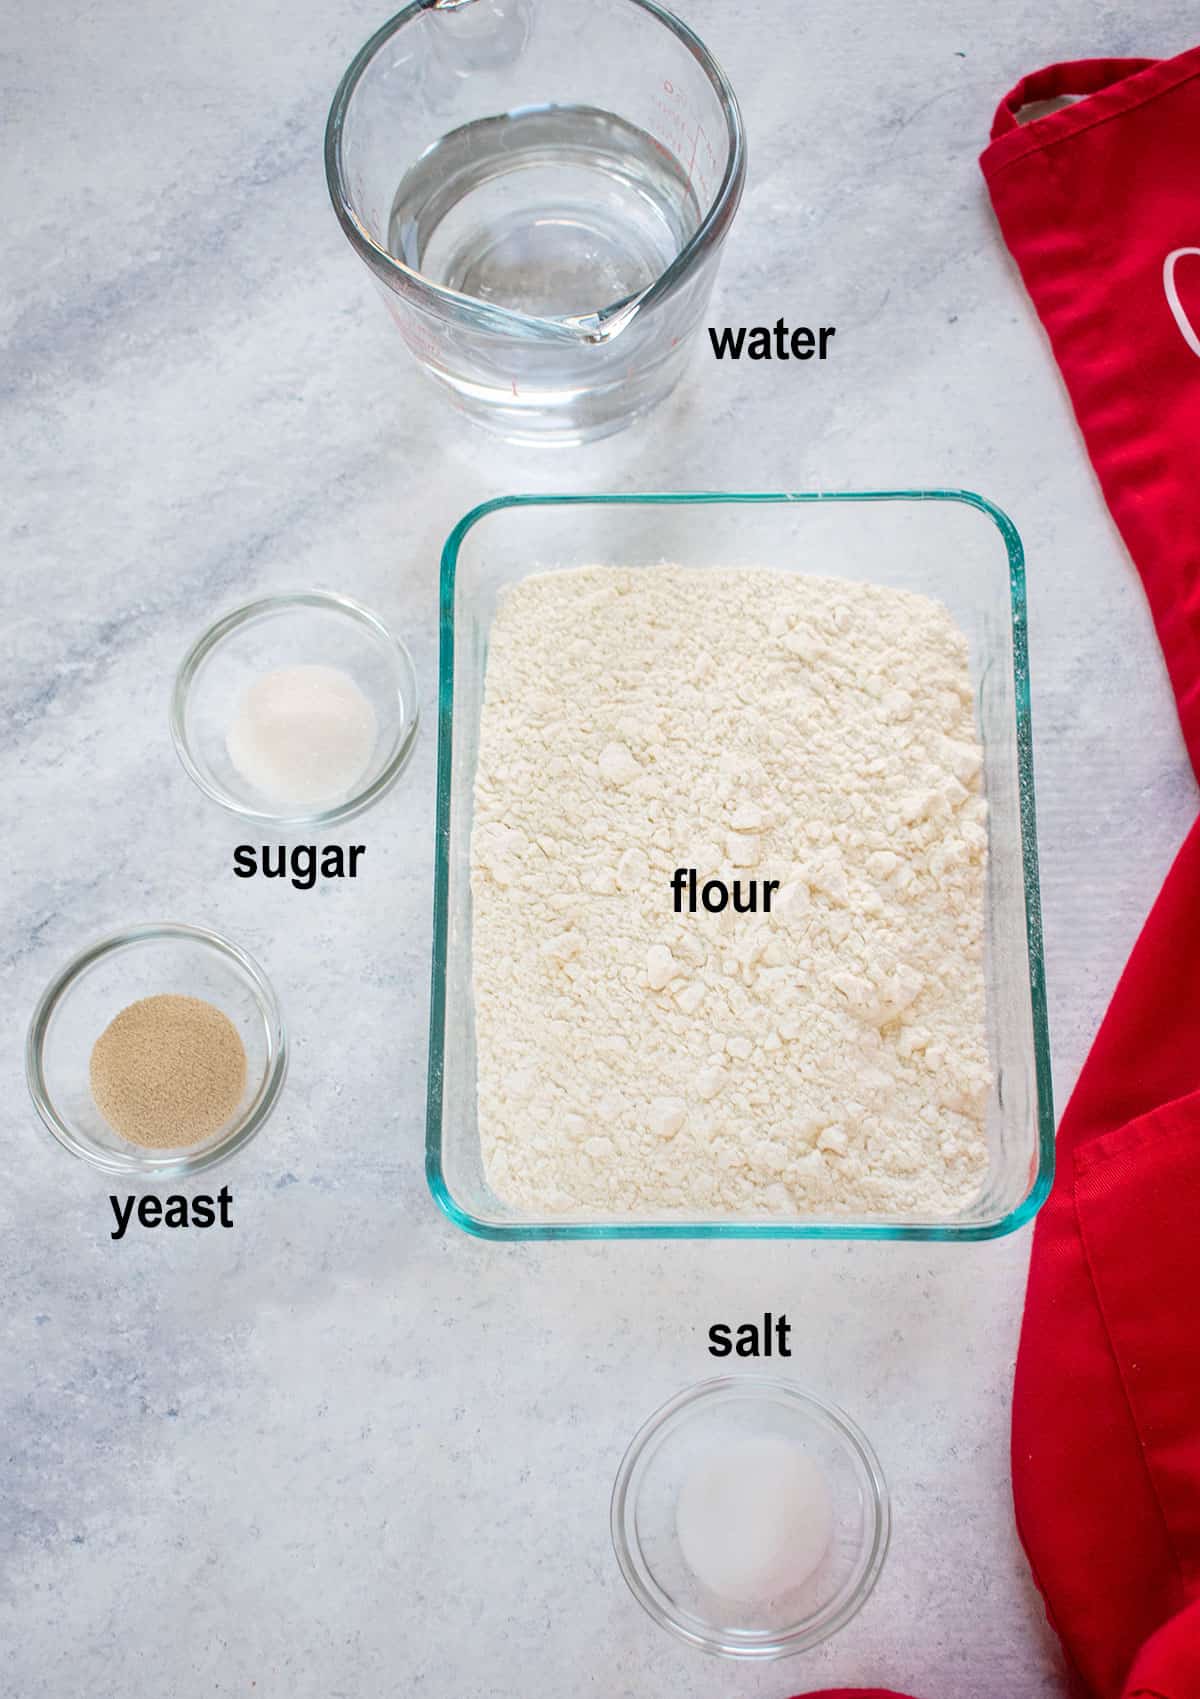
Flour: You can use all-purpose flour or bread flour. I tested this with all-purpose flour because that's what most people have on hand. Bread flour has more protein and would likely produce a taller loaf.
Yeast: I'm a big fan of instant yeast (affiliate link) because it makes dough rise more quickly than active, dry yeast. Plus, instant yeast can be mixed into the other ingredients without proofing it first. I like to store mine in the freezer to keep it fresh.
But I've included notes in the recipe card if you are using active, dry yeast.
Water: This recipe calls for more water than my classic Italian bread. The extra hydration produces a stickier dough, but it's needed to end up with a loaf with more holes. Be sure to use warm water, not hot, which would prevent the yeast from working.
Sugar: Some Artisan Italian Bread recipes don't call for sugar. I tried that but found we didn't enjoy the taste of the bread without it. Once I made it with the sugar included, our tastebuds were happy!
How to make it
See the card at the end of this post for the full recipe, but here's an overview.
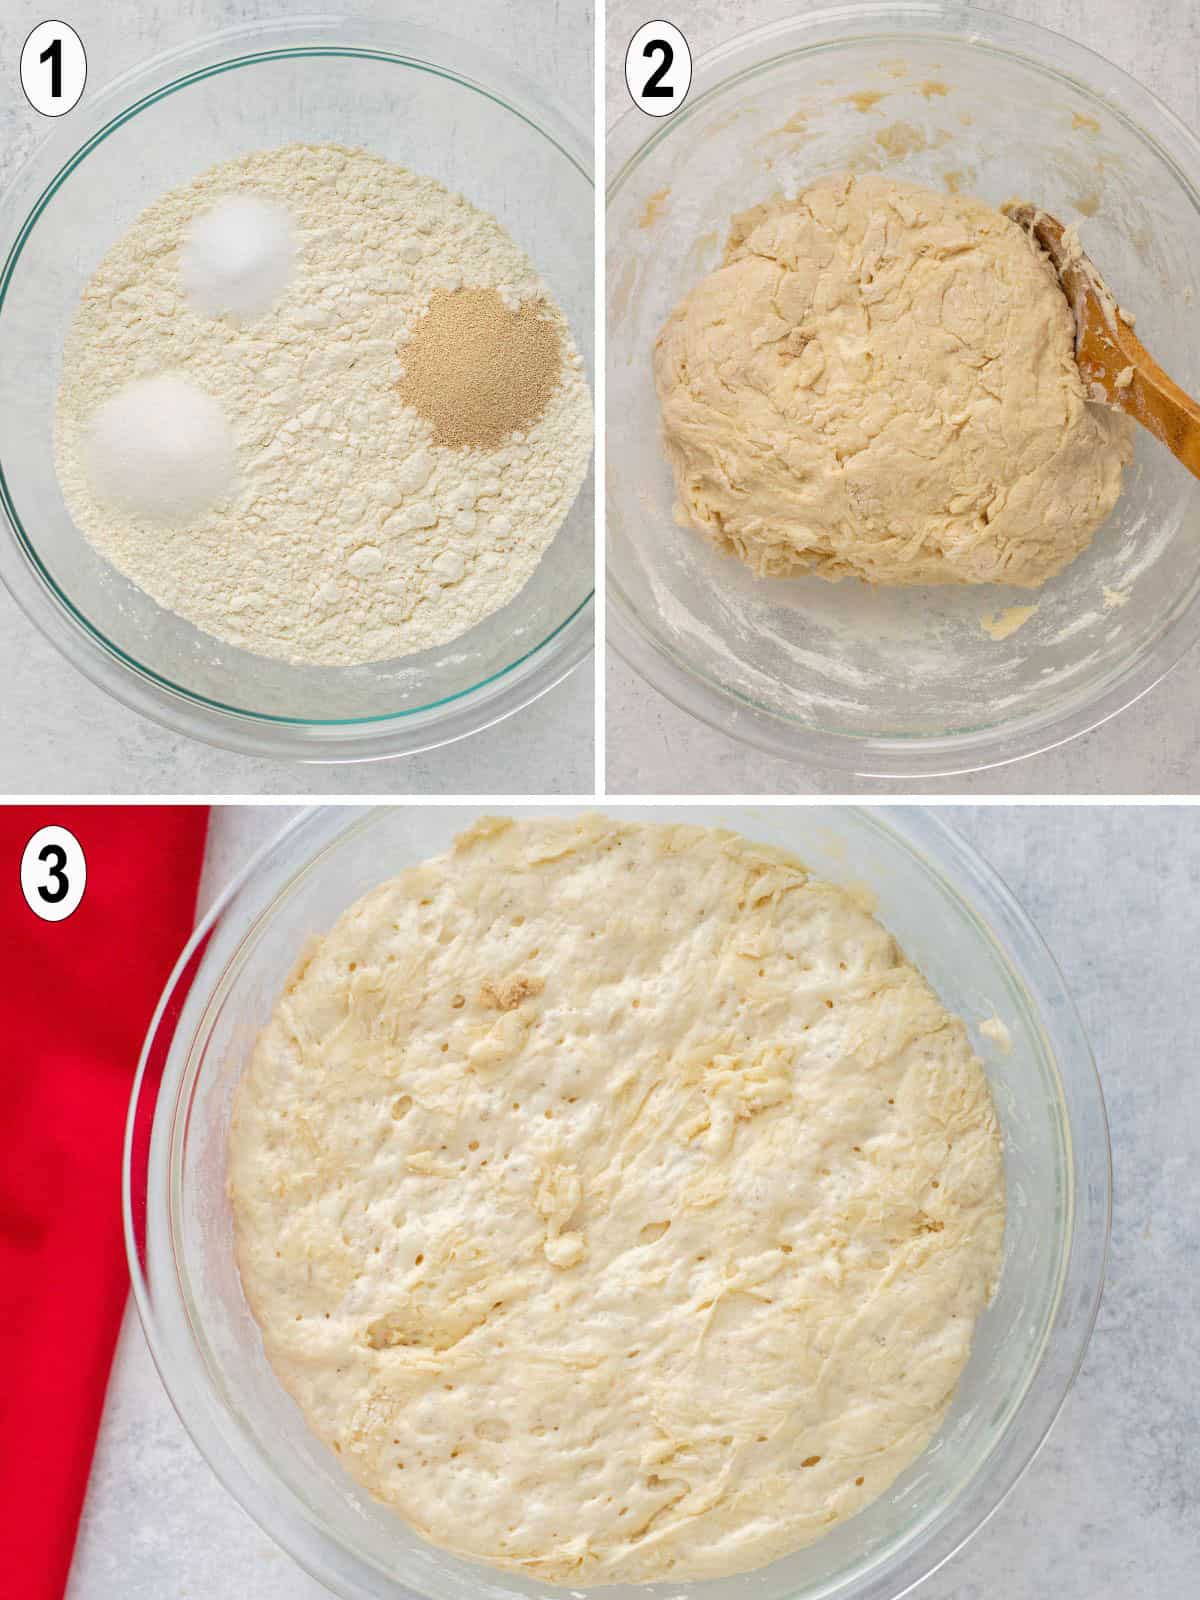
- Add the flour, sugar, instant yeast and salt to a large mixing bowl and stir to combine.
- Pour in warm water and stir until blended.
- Grease the bowl and let the dough rise in it for 2.5 hours, covered.
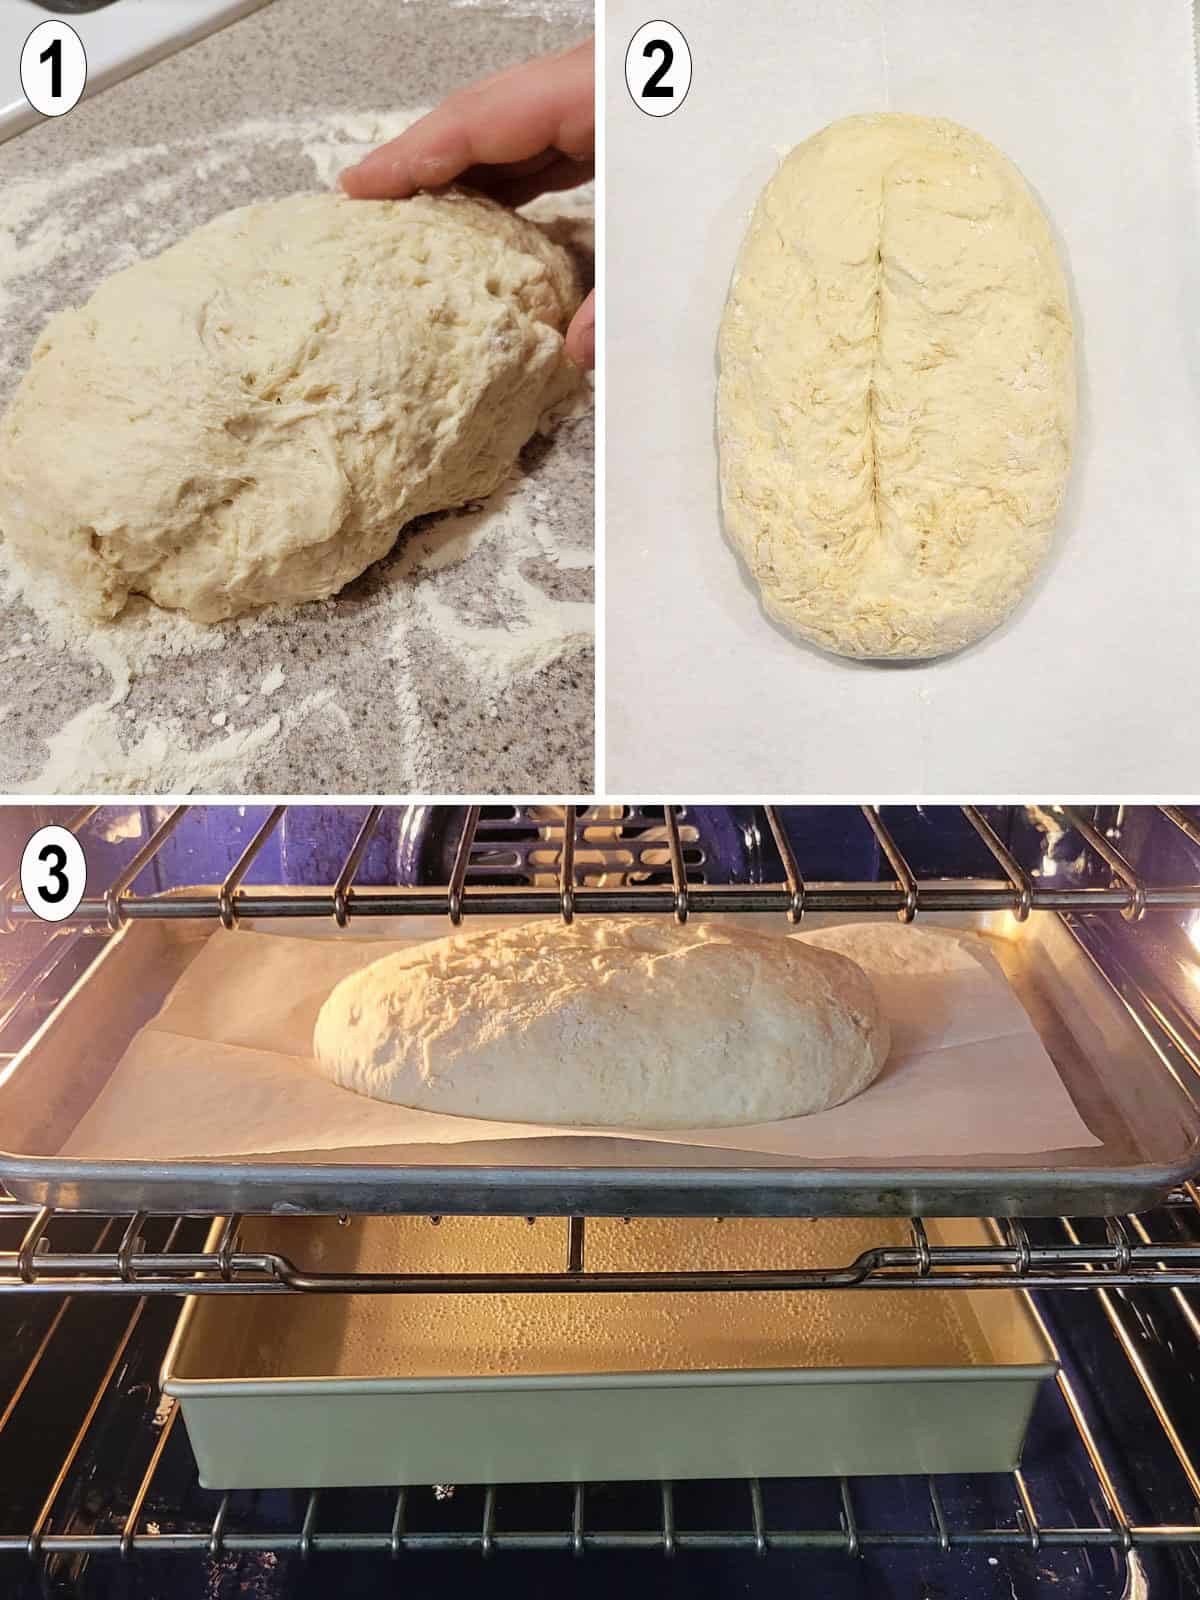
- Gently shape the dough into a loaf about the size of a football.
- Score the dough with a straight-edged knife to allow ventilation. Let the shaped loaf rest, covered for 30 minutes.
- Bake at 450 degrees F on a parchment-lined pan with a pan of hot water below it.
Recipe tips
- Don't knead the dough or handle it too much when shaping it, so you don't get rid of the air bubbles needed for holes in the dough. Plus, the dough is too wet to knead.
- Bake the bread with a pan of water on the rack below so the steam produced will make the crust crispier.
- Test if the bread is done by tapping the underside of the loaf. If it sounds hollow, it's done. Otherwise, bake it a little longer.
What to serve with it
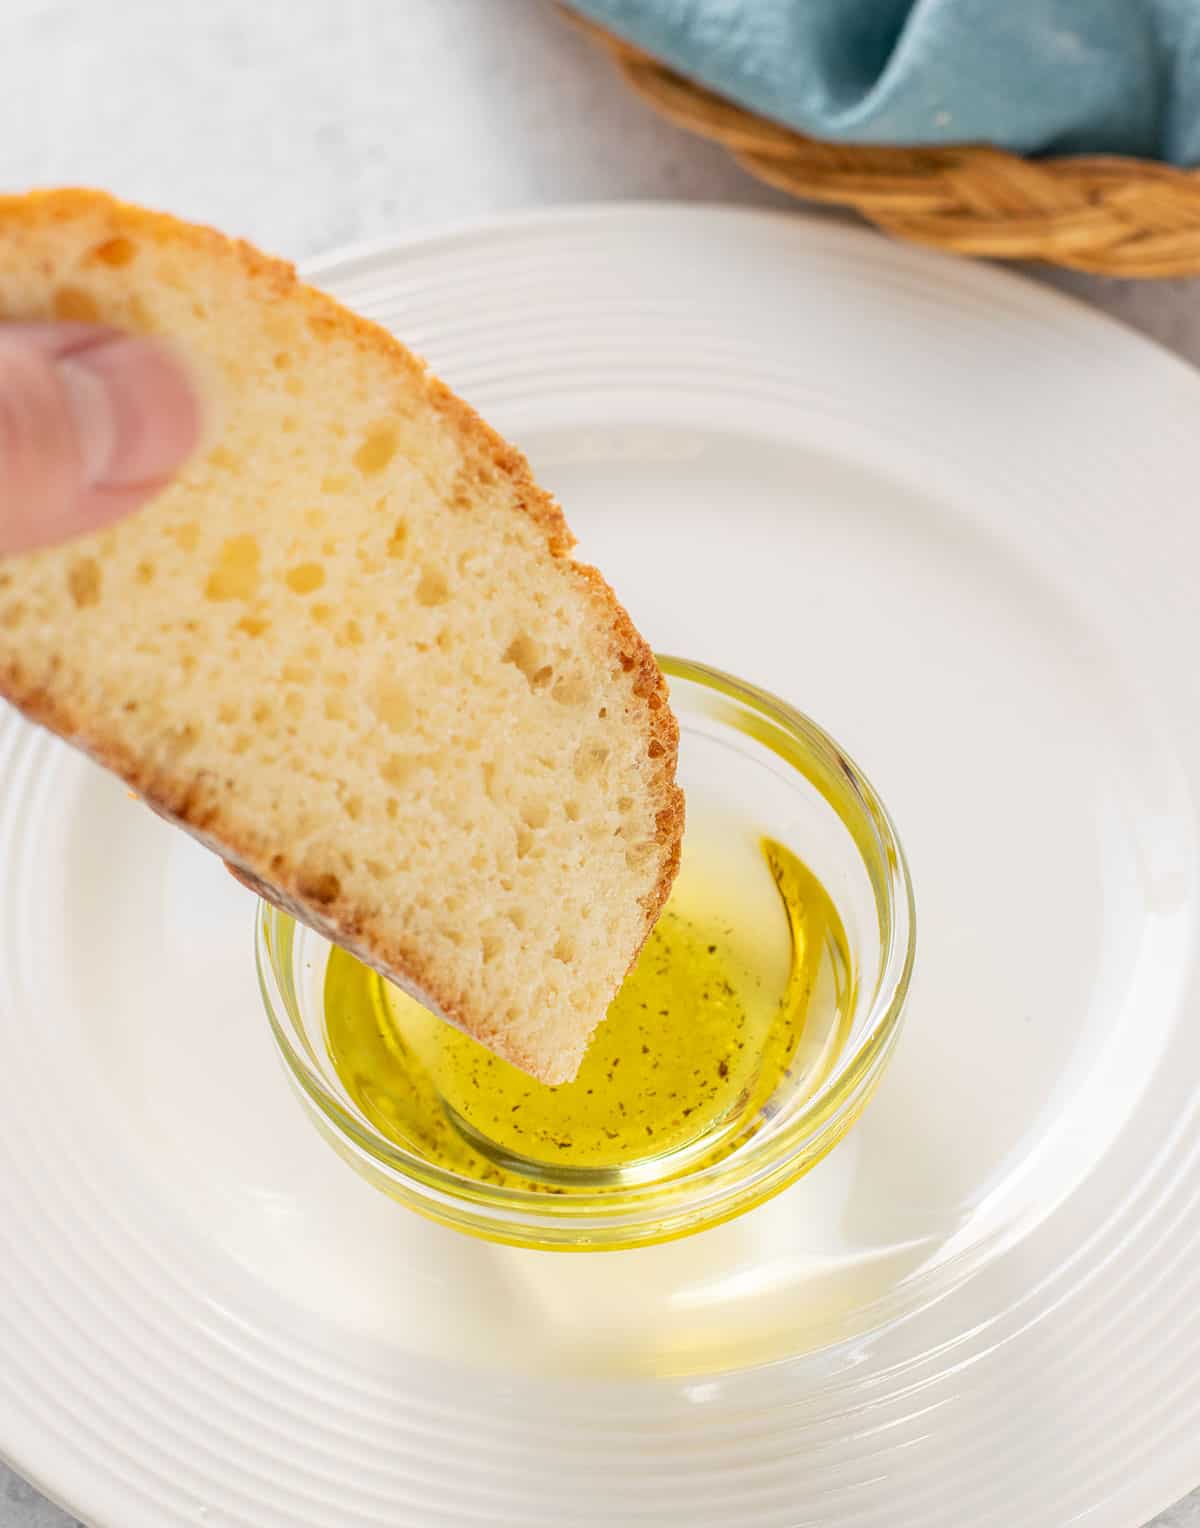
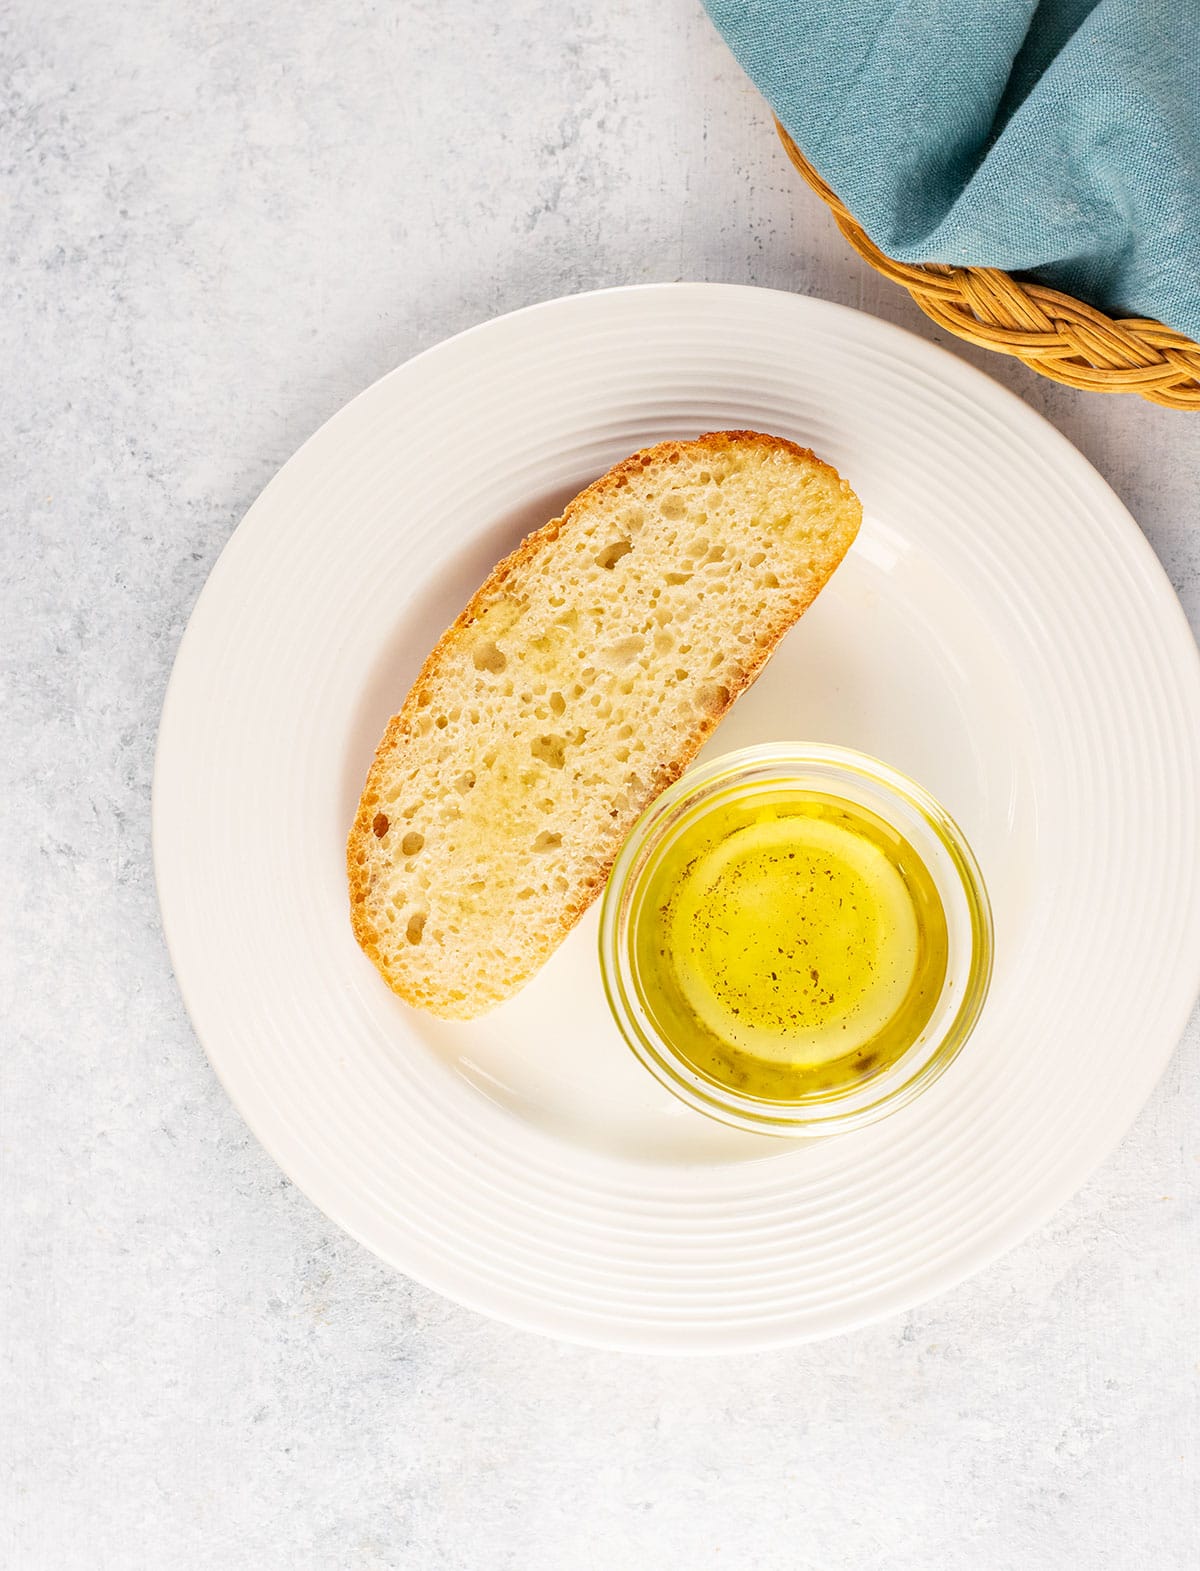
We love this crusty artisan bread dunked in olive oil dip! And you have to try using it for Panzanella (Italian Bread Salad) or Italian Bread Pizza.
It's also delicious toasted, buttered and dipped in the runny yolks of basted eggs. Keeping the breakfast theme, you have to try making Italian Bread French Toast or Orange French toast with it!
Of course, you can enjoy mopping up Sunday meat sauce or easy marinara sauce with it. And you have to try it with Italian Tomato Salad!
How to store it
If you're going to use the homemade artisan bread within the next day, store it at room temperature, wrapped in plastic and then placed in a brown bag. Don't refrigerate it, or it will dry out.
If you know you won't use all of the bread within a day, slice it and freeze it in a zip-top freezer bag.
More recipes to try
- Beer Pizza Dough
- Rosemary Focaccia with Garlic
- Friselle (Italian Twice-Baked Bread)
- Casatiello Easter Bread
- Semolina Bread
Enjoy!
If you try this Artisan Italian Bread recipe, please leave a comment and a rating!
Artisan Italian Bread
Equipment
Ingredients
Dough
- 3 ½ cups all-purpose flour (or bread flour)
- 2 teaspoons instant yeast (see notes if using active dry yeast)
- 2 teaspoons granulated sugar
- 1 ¼ teaspoons salt
- 1 ½ cups warm water
Instructions
- In a large mixing bowl, add the flour, yeast, sugar and salt. Stir with a spoon to combine. Pour in the water and stir with a spoon to mix. The dough will be sticky.
- Lift up the dough and grease your mixing bowl with cooking spray (you can use the same bowl without cleaning it first.) Place the dough back in the greased bowl and roll it around to coat it with the oil. Cover the bowl with plastic wrap and let the dough rise for 2 ½ hours at room temperature.
- When the dough has risen, transfer it to a floured work surface. Don't knead the dough, but shape it into a loaf about the size of a football. Smooth out the dough as best you can without handling it too much. Place it onto a half-sheet pan lined with parchment paper or a silicone baking mat. (If you have neither, you can lightly grease your pan with cooking spray.)
- Use a straight-edged knife to cut a long slit along the surface of the dough. Cover the dough with a clean dish towel that doesn't shed. Set a timer for 30 minutes to let the dough rest and proceed to prepare your oven.
- Fill a 9x13 metal pan or cast iron pan halfway with hot water. (Don't use a glass pan, because it could shatter.) Place the pan on the bottom rack of the oven. Preheat the oven to 450 degrees F.
- When the dough has rested for 30 minutes and the oven is ready, place the pan with the dough on the middle rack of your oven.
- Bake the bread for 35-40 minutes. Check if it is done by removing the pan from the oven. Wearing gloves, flip over the loaf. Take off one glove and tap the underside of the bread with your fingertips. If the bread sounds hollow, it is done. If not, bake it a little more.
- When the bread is done, let it cool on a wire rack until it's no longer hot. Slice the bread and serve with dipping oil, butter or make sandwiches with it.
- Store the bread at room temperature, wrapped in plastic and then placed in a brown bag. It is best eaten by the next day or so for freshness. For longer storage, it's best to slice the loaf the first day and freeze it in a freezer bag.
Notes
Nutrition
(Recipe Source: Cooking with Mamma C)


Comments
No Comments