

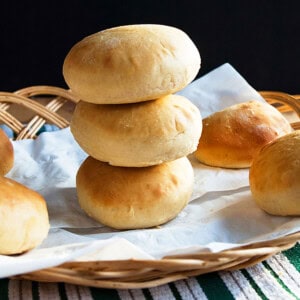
Make these Quick Hamburger Buns from scratch in less than an hour and elevate your burgers to a new level! No fancy equipment is required. Plus, you can use this recipe for all of your sandwich bun needs.
If you haven't tried burgers with homemade buns, you don't know what you've been missing!
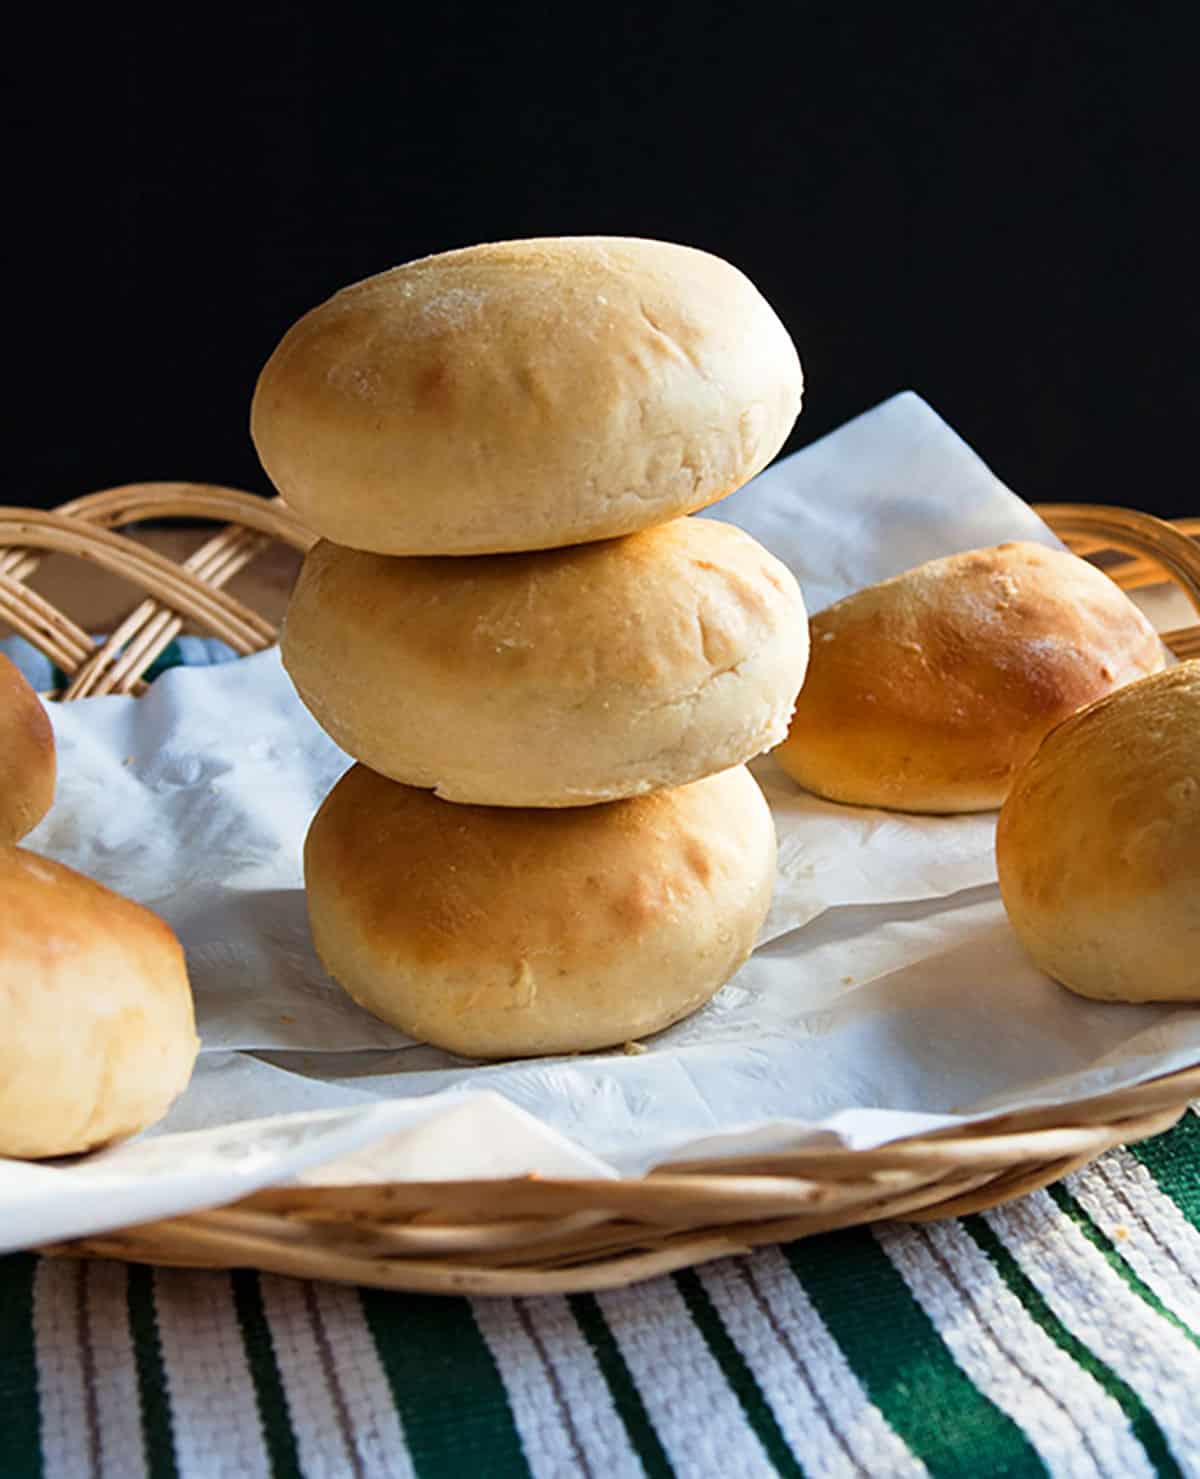
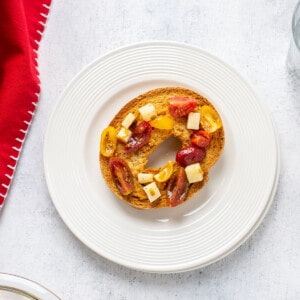
I've been making these Quick Hamburger Buns for at least a decade. They taste so fresh and delicious, you'll want to toast them and enjoy them with butter, even if no burger is in sight.
And...they're easy, ready in less than an hour, and don't require fancy equipment.
Just keep in mind, these quick burger buns will be more doughy than storebought ones. And they won't have the same texture as homemade rolls that take longer to make.
But for something ready in 40-50 minutes, tops, they rock! Try them with burgers topped with sautéed mushrooms and onions.
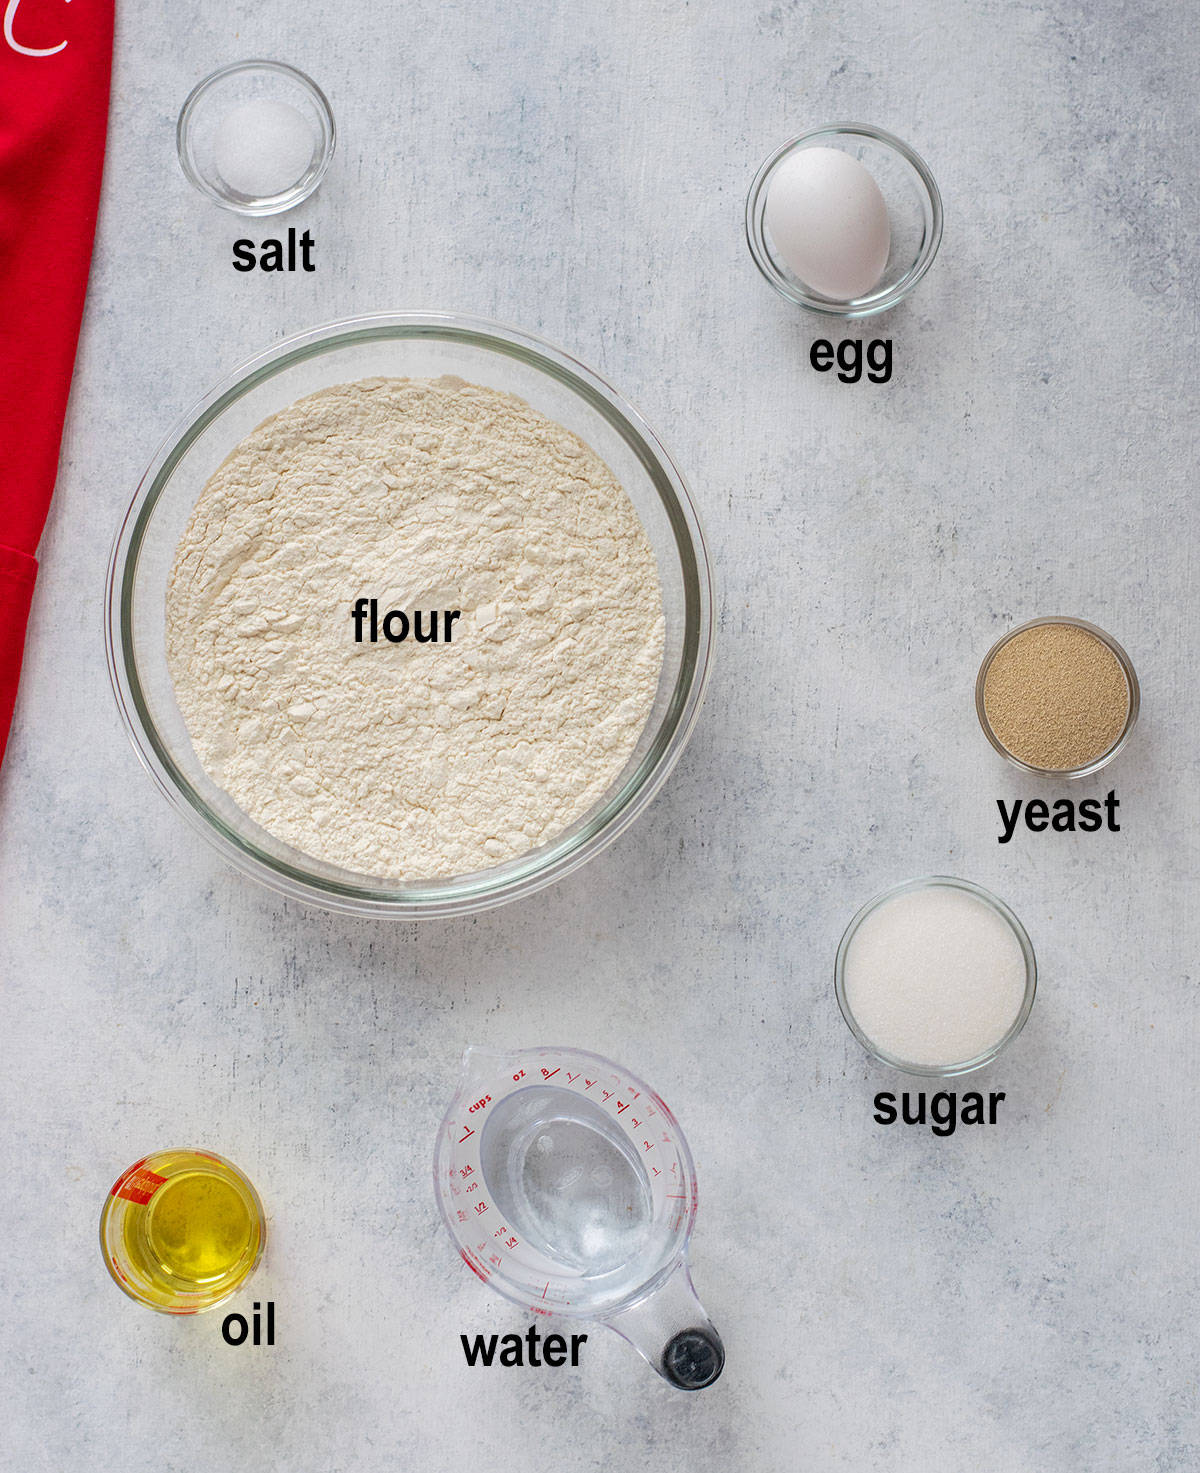
Recipe ingredients
Flour: Use all-purpose flour for a fluffier bun. If you'd like to incorporate some whole wheat flour, the hamburger buns will taste delicious, but they'll have a denser texture. I've used use one cup of white whole wheat flour and 2 ½ cups of all-purpose flour with good results.
I don't recommend making the buns entirely with whole wheat flour, because they'll be too dense.
Yeast: You'll need two tablespoons of quick or active yeast for this recipe. This relatively large amount helps the buns to rise just enough in a short period of time.
I always use instant yeast for convenience, since it doesn't need time to proof and can be mixed in with the other ingredients.
If, like me, you store yeast in the freezer, bring it to room temperature before using it in this recipe. The dough for these Quick Hamburger Buns only rests for 10 minutes, so using cold yeast will result in flatter buns that crack on the sides when baked.
(Note, I use instant yeast right out of the freezer for my Italian bread recipes, which have much longer rising times.)
How to make hamburger buns
See the card at the end of this post for the full recipe, but here's an overview.
Make the dough
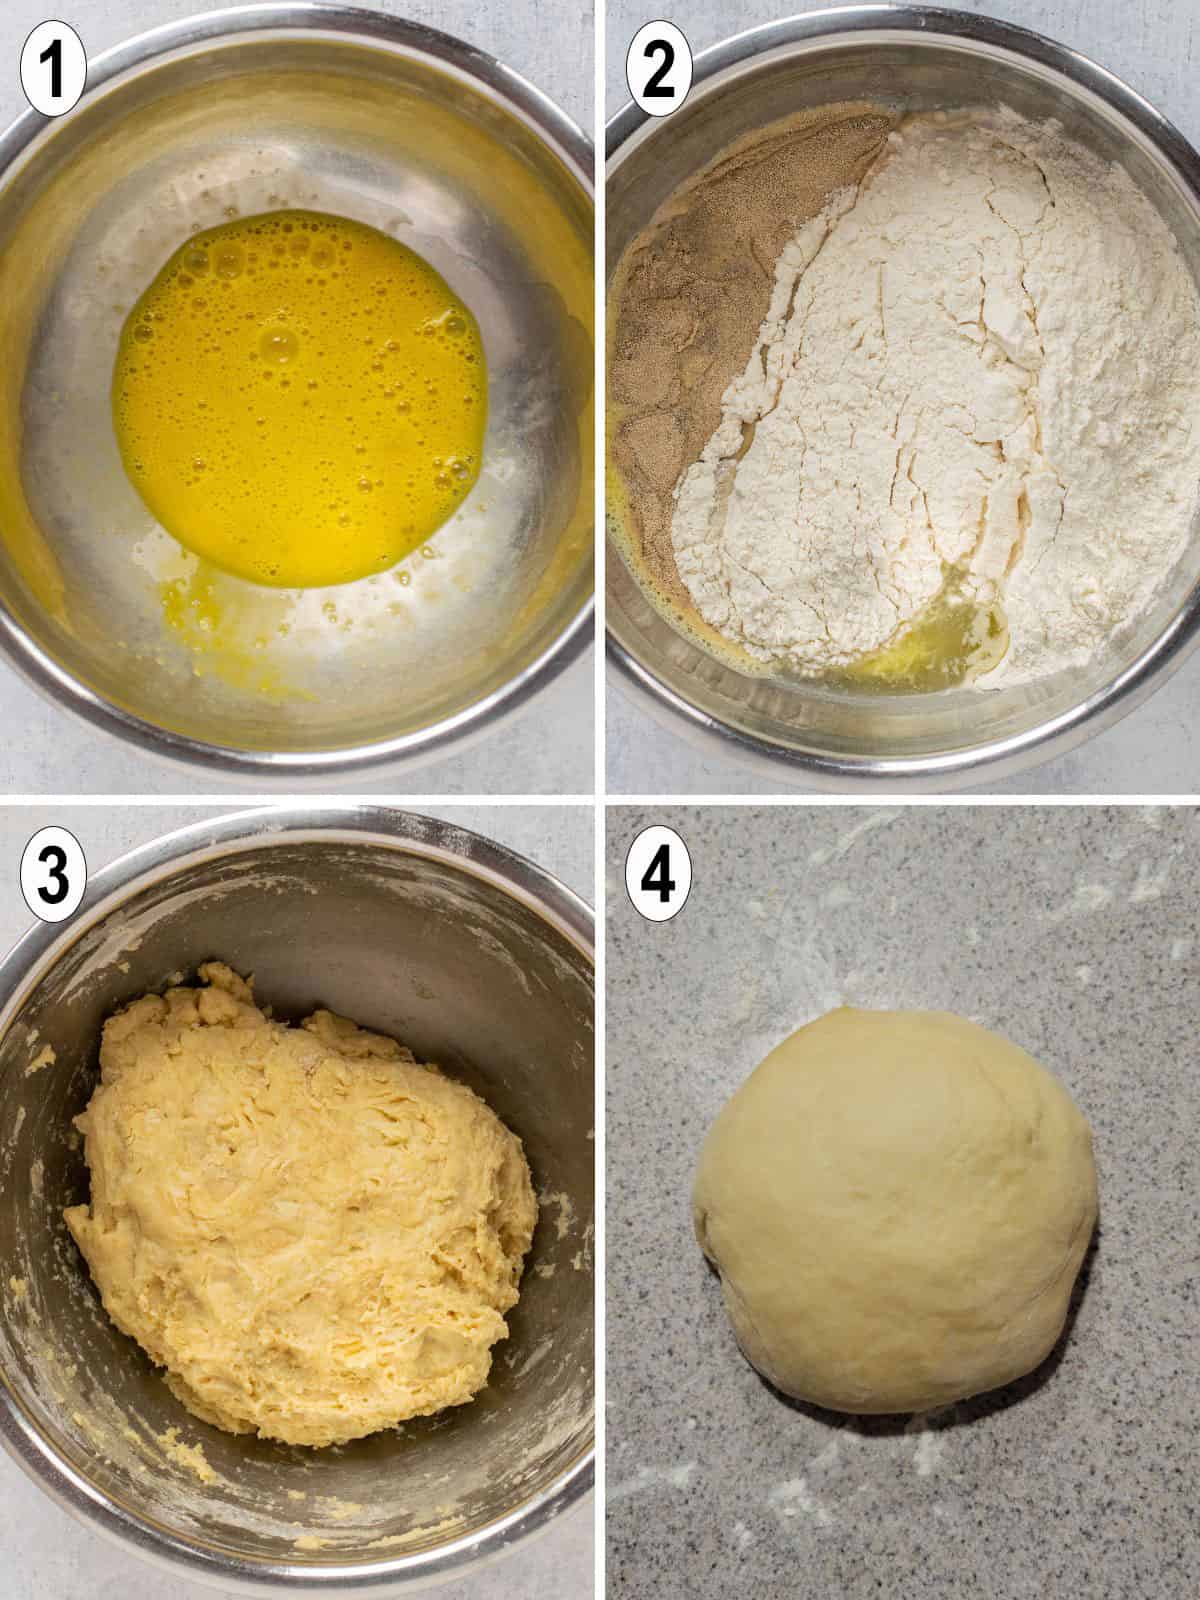
- Beat an egg in a mixing bowl.
- Add in the rest of the ingredients.
- Stir together with a wooden spoon.
- Knead the dough by hand for 5 minutes.
Shape the buns (two options)
You'll need to choose a method to shape the buns.
I like to make each hamburger bun large enough to comfortably hold a ⅓-pound burger patty, so I get nine buns with one batch of dough. Of course, you can make smaller slider buns and yield at least a dozen from this recipe.
I roll out the dough until it's ½-inch thick and cut out 4 ½-inch circles so they're all uniformly sized. This method makes the buns slightly dense, however.
For fluffier burger buns, you can roll the dough into balls and slightly flatten them with your hand. The buns won't all be the same size, however.
I'm sharing both methods in the instructions, so you can decide which you prefer.
Roll and cut method
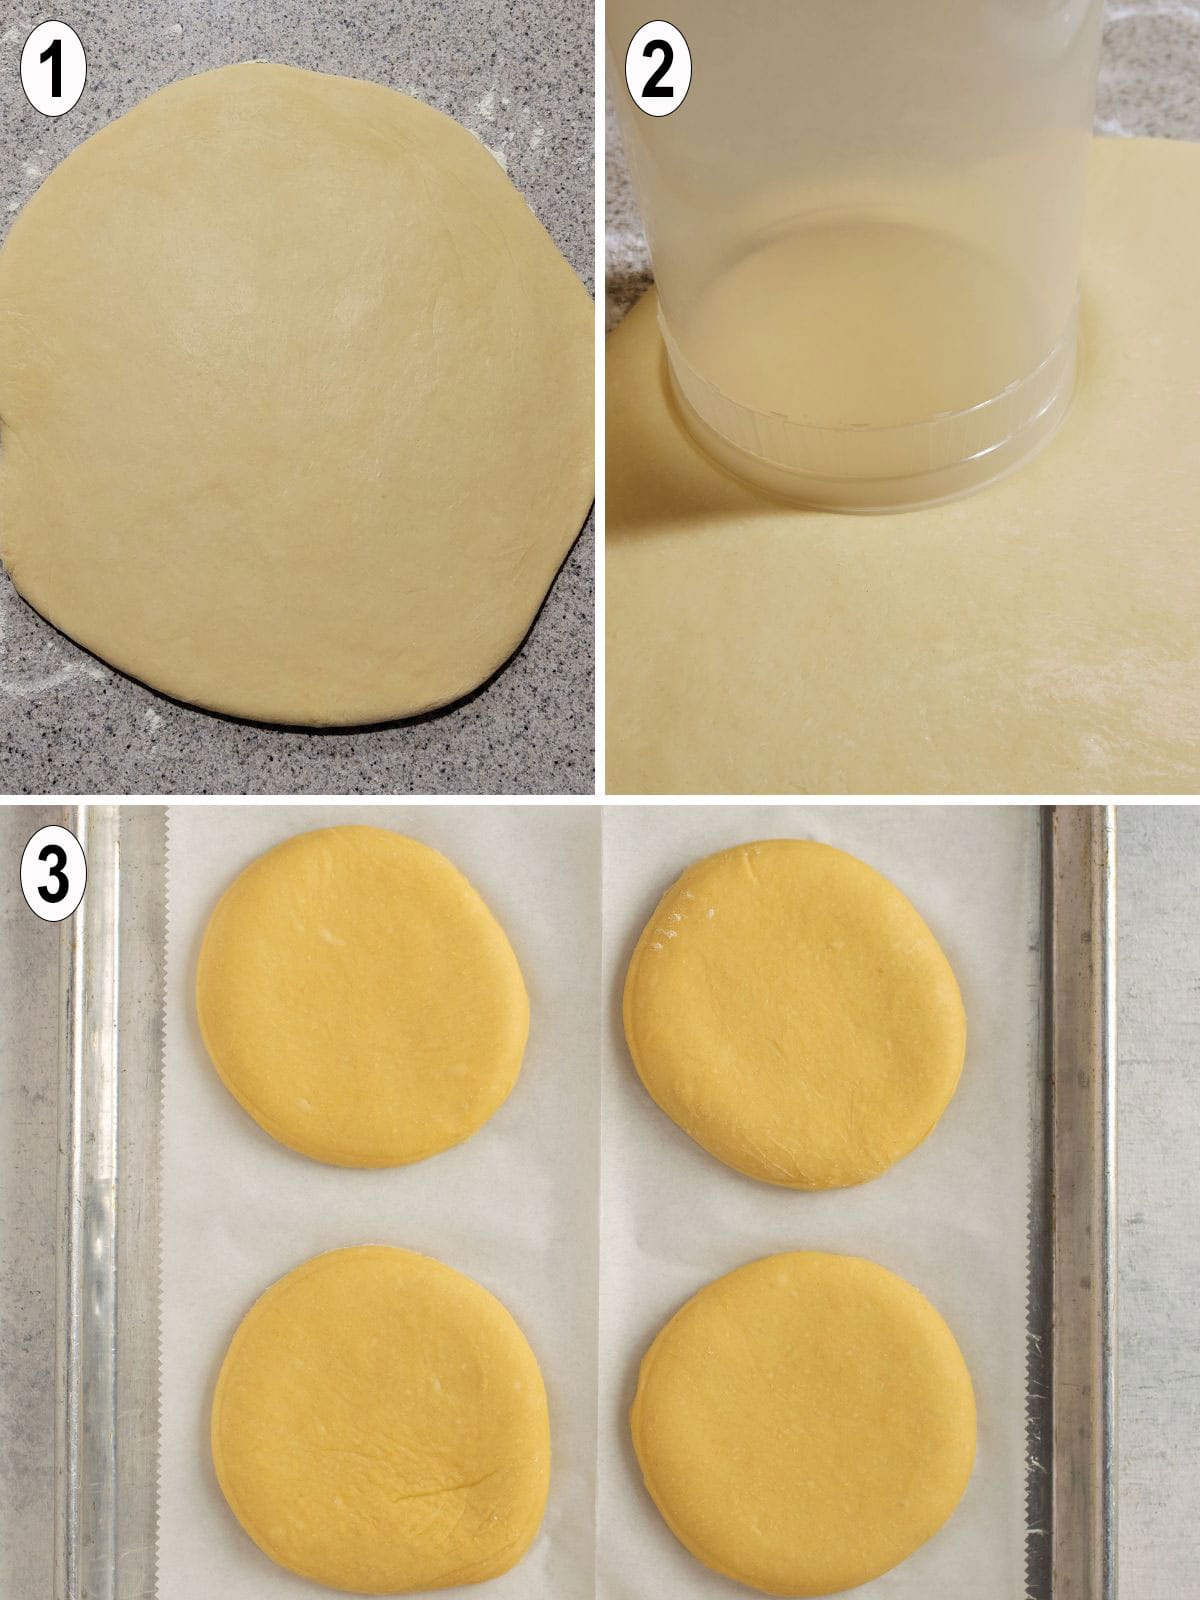
- Flatten the dough with a rolling pin until it's ½-inch thick.
- Cut out 4 ½-inch circles (use the mouth of a plastic quart container). When you have scraps of dough left, gather them into a ball and roll out the dough again so you can cut out more circles.
- Cover and let the circles of dough rest for 10 minutes, then bake them.
Dough ball method

- Divide the dough into 9 even pieces (cut the dough into three sections, then cut each of those into three parts). Roll into balls.
- Flatten the dough balls using your hand. Cover and let rest for 10 minutes. Bake.
Recipe tips
- If the dough is sticky, add a couple of extra tablespoons of flour, then knead some more. If it's still sticky, add two more tablespoons of flour at a time, until the dough comes together.
- If using the dough balls method, once you've separated the dough into pieces, don't add any extra dough to them. That will cause the hamburger buns to crack during baking.
- For best results, bake one pan of buns at a time, on the center rack of your oven.
Not just for burgers
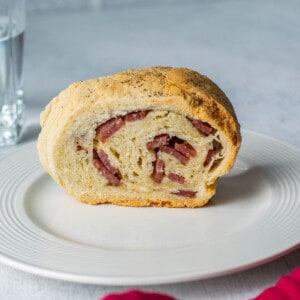
Besides hamburgers, these buns are great for sandwiches. Fill them with boiled corned beef, Slow Cooker Carolina Pulled Pork, Breaded Italian Chicken Cutlets or Homemade Turkey Lunch Meat.
And, I can't wait to make an Italian sausage and peppers sandwich with them.
No matter what you fill the buns with, they'd be great with a side of Parmesan baked onion rings!
Storing in the freezer
I always freeze these homemade hamburger buns to keep them fresh. Place the cooled buns in a freezer bag, and they'll keep nicely for up to three months, although they won't ever go bad. Thaw the buns on the counter overnight, or individually in the microwave.
More recipes to try
If you enjoy making bread and dough as much as I do, don't miss these recipes for Artisan Italian Bread, homemade pizza dough, and Parmesan focaccia. And, if you don't have yeast, you need to try this easy 5-ingredient beer bread!
Enjoy!
If you try this Quick Hamburger Buns Recipe, please leave a comment and a rating!
Quick Hamburger Buns
Ingredients
- 1 egg (at room temperature)
- 3 ½ cups flour (Measure by scooping and leveling off. Add extra as needed. See notes.)
- ¼ cup granulated sugar
- 2 tablespoons quick-rise yeast (at room temperature)
- 1 ⅛ teaspoons salt
- 1 cup plus 2 tablespoons warm water
- ⅓ cup vegetable or canola oil
Instructions
- Twenty minutes ahead of time, set out one egg at room temperature. If you store yeast in the freezer or refrigerator, measure out 2 tablespoons of it to leave at room temperature as well.
- Line two rimmed baking sheets with parchment paper (cut them to fit) or just grease your pans.
- In a medium or large mixing bowl, crack the egg and beat it with a fork.
- Add all other ingredients to the bowl and stir with a wooden spoon to combine. If the dough is very sticky, wet, and not coming together, add a couple tablespoons of flour at a time until the dough comes together.
- Sprinkle some flour on a clean counter or work surface and place the dough onto the surface. Knead the dough by hand for five minutes. It should be smooth and a little tacky, but not sticky.
- Preheat the oven to 425 degrees F. Choose either the Roll & Cut Method or the Dough Balls Method for shaping the buns.
Roll & Cut Method (for uniform results, but more dense texture)
- On a floured surface, use a rolling pin to roll out the dough until it is ½-inch thick.
- Cut out circles of dough using a glass or biscuit cutter, or for larger buns as pictured, use a plastic quart container with a 4 ½-inch-wide opening as a cutter. Place the circles of dough on the prepared pans, spacing them apart so the dough circles don't touch.
- Once you've cut all the circles of dough you can fit from the first rolling, you'll need to gather the dough in a ball again, flatten it and roll it ½-inch thick. Then, proceed to cut out more circles of dough. Gather the scraps of dough into a ball and roll again as needed. I get 9 buns cut 4 ½-inches wide. Proceed to the Cover, Rest & Bake instructions further down.
Dough Balls Method (for fluffier texture, but the buns won't all look the same)
- Please read this section carefully before starting. Use a bench scraper or straight-edged knife to separate the dough into nine, approximately even pieces. (Cut the dough into three equal parts, then cut each of those parts into three equal pieces.) IT IS IMPORTANT NOT TO ADD DOUGH TO ANY OF THE PIECES OR YOU'LL GET CRACKS WHEN THE BUNS BAKE.
- Roll each piece of dough into a smooth ball. I roll it on the counter, rather than in my hands. Place the dough balls on your baking pans, spaced apart so they don't touch. Gently press down each ball with the palm of your hand to make the shape a little flatter.
Cover, Rest & Bake
- Loosely cover the pans of shaped hamburger bun dough. (Use clean, lint-free kitchen towels or greased plastic wrap to cover them.) Let the shaped dough rest for 10 minutes.
- Bake, one pan per oven, on the center rack, for 9-10 minutes or until the buns are golden brown on top.
- Let the hamburger buns cool on a wire rack before slicing them in half to serve. You can lightly toast them if you wish. Freeze leftover buns in a freezer bag and thaw them before use.
Notes
- It's important to use room-temperature yeast and a room-temperature egg for the buns to bake up properly without cracking. There is no rising time in this recipe, so the ingredients need to be ready to go.
- If using active dry yeast, dissolve it in the warm water first, then add the oil and sugar. Let it sit for five minutes, then add the egg, salt and flour to make the dough.
- Using only all-purpose flour will give you a fluffier bun. You can use one cup of white whole wheat flour, and 2 ½ cups of all-purpose flour, and the result will be tasty but a bit more dense.
- If it is humid and your dough is sticky and not coming together, you will need to add more flour. Add a couple of extra tablespoons at a time, until the dough comes together.
Nutrition
(Recipe Source: Adapted from Taste of Home. Originally published on November 4, 2016 and updated now with additional photos and information.)


Nancy says
Made these for the first time and will keep this recipe. The dough didn’t rise at all in that 10 minute period, is this normal? Have you used bread flour before? And if so, did it make a difference. Thank you for the recipe.
Mamma C says
Hi Nancy - The 10 minutes is more of a resting time than a rising time. As long as your hamburger buns turned out looking similar to mine in the photos, it's fine. I haven't tried using bread flour, but it might be worth experimenting.
Elizabeth says
I made this recipe for the first time last week... now I'm making it again! I've tried several hamburger bun recipes and, while good, they just weren't perfect...This recipe is!!!😊 Makes perfectly soft, delicious buns. Much better than store bought because they're fresh baked. If anyone reads this and is looking for SOFT hamburger buns- this is THE recipe for you!
Mamma C says
Hi Elizabeth - That's great to hear! I love hamburgers with these buns.
Trish says
I bake bread often and it usually turns out well. This hamburger bun recipe has become one of the most raved about recipes I have made. The texture and perfect fluffiness is amazing! I throw the ingredients into my kitchenaid stand mixer and let it do the work. Never have I found bread so gratifying to make.
Mamma C says
Hi Trish - I'm so happy to hear that! Thanks for letting me know.
Evelyne says
Quick and easy. You explained everything so well even I had success! 😉 The family loved these buns. I will use this recipe often.
Mamma C says
Hi Evelyne - I'm so happy to hear that! I try to explain things clearly in all of my recipes.
Taylor says
Hello! My suggestion for the best of both worlds: roll the dough into one long cylinder and slice. It creates uniform buns and they are still fluffy 🙂
Mamma C says
Hi Taylor - I can't wait to try that! Thanks so much for sharing that suggestion.
Hannah says
Hi! Do these freeze well?
Mamma C says
Hi Hannah - Sure! Let them cool off after baking and add them to a freezer bag.
C.R. says
These came out really good!
Mamma C says
I'm so glad!