
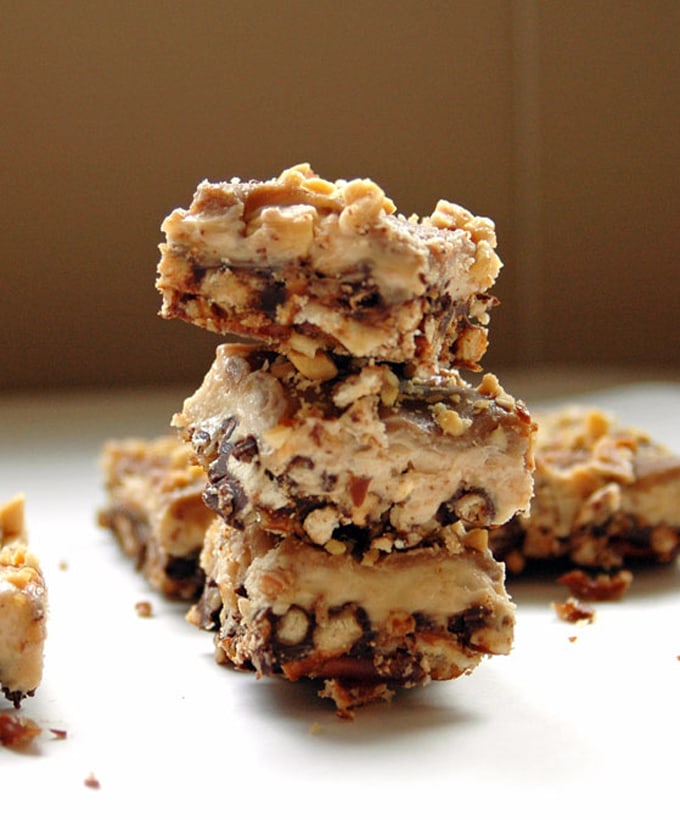
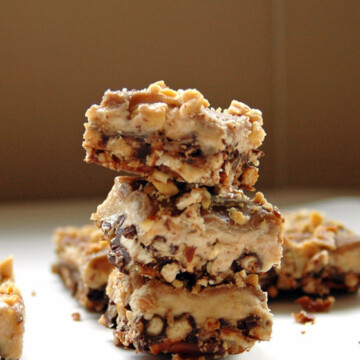
These Take 5 Cheesecake Bars are a salty and sweet treat! Featuring a pretzel crust with layers of chocolate, peanut-butter cheesecake, homemade caramel, and chopped peanuts. Serve them frozen for an extra delicious experience!
Take 5 bars are my favorite candy. I just had to come up with a homemade treat inspired by them.
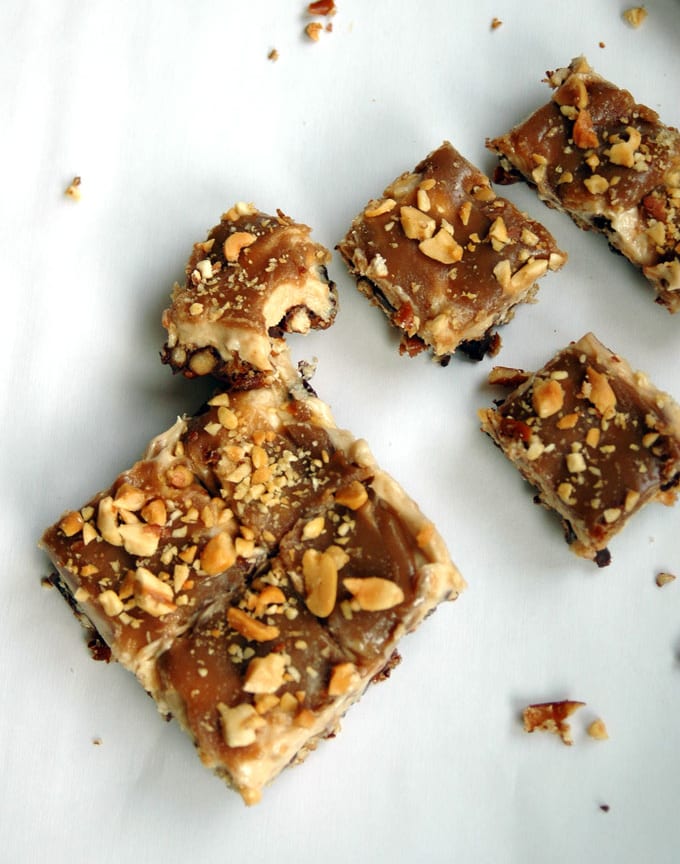
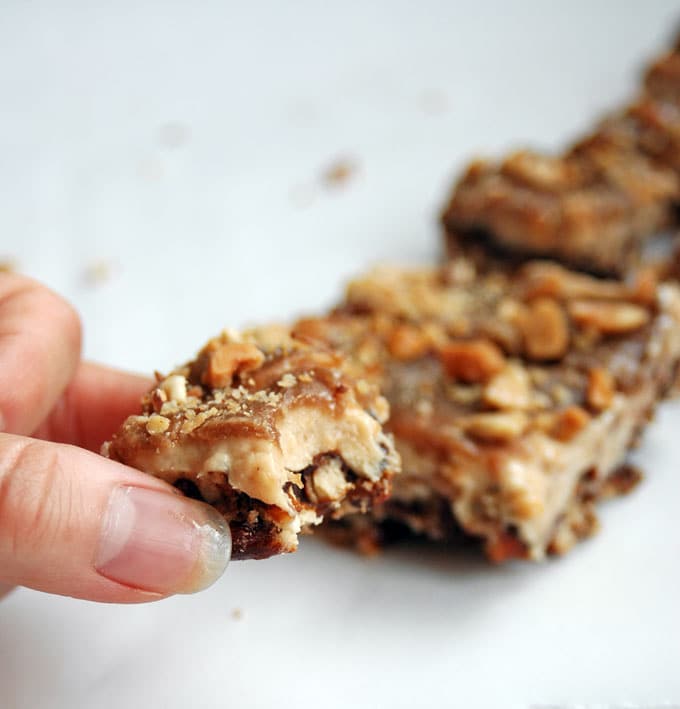
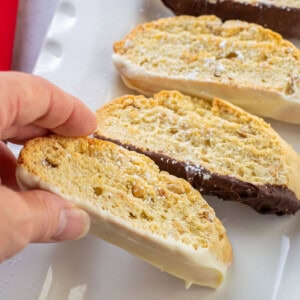
So, I give you Take 5 Cheesecake Bars. A buttery, salty pretzel crust is topped with melted semi-sweet chocolate (better than milk chocolate!), followed by a peanut butter-cheesecake layer, then a layer of from-scratch caramel that's sprinkled with chopped peanuts.
YES!!!
If salty and sweet desserts are your thing (they are so my thing), this one's for you. (And so is this Buckeye candy recipe.)
But these Take 5 bars are creamy, crunchy, rich, and dare I say...refreshing.
Because they're frozen. Like ice cream.
Like ice cream candy bars. Like frozen cheesecake candy bars.
I'm dying over these. And if you love cheesecake, don't miss this New York crustless cheesecake!
In case the recipe sounds complicated, if you've ever made that strawberry-pretzel dessert with the cream cheese, you can make this too with no problem.
Pretzel crust, check. (Just melt some chocolate in the microwave to spread on it, as we do for these Orange-Chocolate Bars.)
Sweetened cream cheese layer (basically cheesecake), check. I just added peanut butter and vanilla to it.
Oh, and instead of folding in frozen whipped topping, I did take five minutes to beat some whipping cream with my hand mixer. So worth it, though, since I can taste the chemicals a mile away in that frozen whipped topping stuff.
Then, instead of a Jello topping, all that's needed are the caramel sauce and chopped peanuts. Homemade caramel takes 15 minutes and is so good.
But, I will look the other way if you use store-bought. Especially if you made the whipped cream!
More desserts like this
- New York-Style Chocolate Cheesecake
- Lemon Lush Dessert
- 9x13 Cheesecake with Sour Cream
- Fudgy Brownies with Frosting
Enjoy!
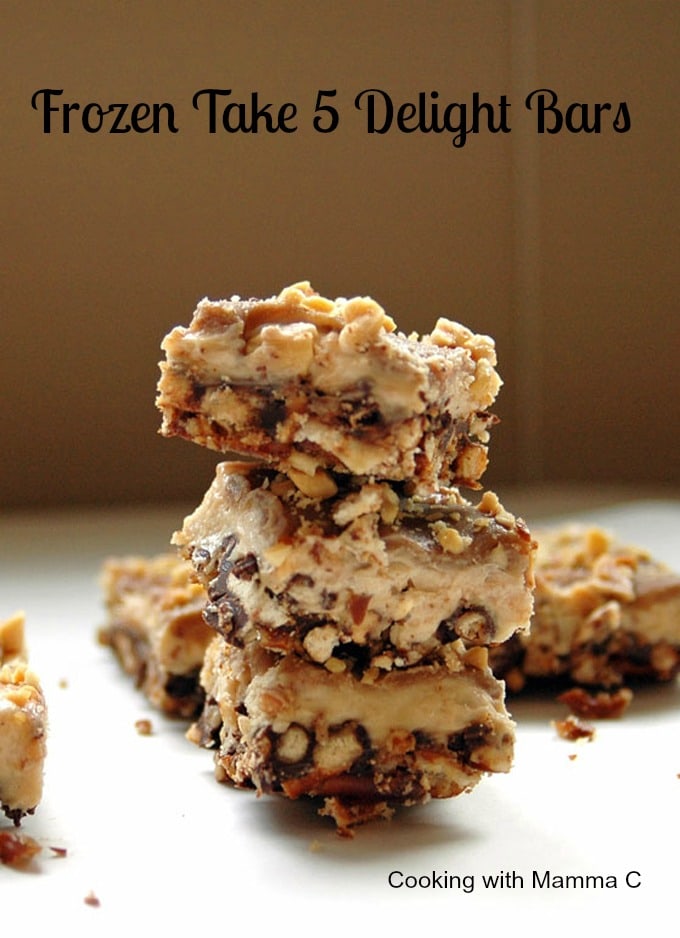
Frozen Take 5 Delight Bars
Ingredients
Pretzel Crust
- 3 cups mini-pretzels (crushed)
- 8 tablespoons salted butter (1 stick, melted)
- 3 tablespoons sugar
- 5 ounces semi-sweet baking chocolate bar
Peanut Butter Cheesecake Layer
- 8 ounces cream cheese (softened)
- ⅔ cup peanut butter (crunchy or creamy)
- 1 cup sugar
- 1 teaspoon vanilla extract
- ½ cup heavy whipping cream (whipped to equal about 1 cup)
Caramel Sauce (barely adapted from Mel's Kitchen Cafe)
- 4 tablespoons salted butter
- ¾ cup packed brown sugar
- ⅛ teaspoon salt
- ½ cup heavy whipping cream
- 1 ½ teaspoons vanilla extract
Peanut Layer
- ½ cup lightly salted cocktail peanuts (chopped)
Instructions
- Set out the cream cheese to soften. Preheat oven to 350 degrees F. Crush pretzels with a rolling pin. (To prevent a mess, you can put the pretzels in a gallon Ziploc bag before crushing them.) Leave some pretzels in broken pieces for a more crunchy effect.
- Melt butter on the stove or in the microwave. Off the heat, stir in the 3 tablespoons of sugar. Add the crushed pretzels and stir to combine well. Using a spatula, scrape the pretzel mixture into a 9x13 pan and smooth it evenly. Press it into place with your fingers, if needed. Bake the crust for 10 minutes.
- When the crust has another five minutes to bake, melt your chocolate in the microwave (use a microwave-safe bowl) by heating it 30 seconds at a time and stirring it occasionally until it is smooth. When the crust is finished baking, spread the melted chocolate onto the crust in an even layer.
- In a medium stainless steel bowl, beat the ½ cup whipping cream for a few minutes, until it has the consistency of whipped cream.
- In a large bowl, beat the cream cheese, peanut butter, sugar and vanilla until combined. Fold in the whipped cream until it is blended. When the chocolate layer on the crust has cooled, gently add the cream cheese layer to the pan and smooth it evenly. If you will be making your own caramel, refrigerate the pan until the caramel is ready to be added.
- To make the caramel, add the half stick of butter, sugar, salt and cream to a medium, heavy-bottomed sauce pan (I used my stainless steel pan.) Stir to combine. Over low heat, melt the ingredients while stirring slowly and gently. Don't rush this part.
- When the ingredients are melted, increase the heat to medium-low, stirring, and let the mixture come to a low boil. Stop stirring and let the caramel simmer for seven minutes without touching it. Keep an eye on it, and if it smells like the mixture is burning, lower the heat a bit.
- Chop the peanuts while the caramel is simmering.
- After seven minutes of simmering the caramel, turn off the heat and move the pan to a cool burner. Stand back and carefully and gently stir in the vanilla (it will splash) without scraping the sides (to avoid grainy caramel). Set the caramel aside to cool. It should look like thick liquid, rather than soft ball caramel.
- When the caramel has cooled a bit, drizzle or spoon the caramel sauce all over the cheesecake layer, making sure it's evenly dispersed. Try not to have clumps of caramel, or they'll freeze into solid chunks if you're going to freeze the bars. (Spread the caramel with a knife if needed.)
- Immediately sprinkle on the peanuts. Cut the dessert into 2 x 2 bars (they are rich) if you're going to freeze them. Or, refrigerate the whole pan and slice the dessert into bars once it's chilled and set. To freeze, cover the pan with plastic wrap, then foil, and wait a few hours before serving.
- There is no need to thaw the bars before serving them. Store the bars covered in the freezer or keep them chilled in the refrigerator.
Notes
Nutrition
(Recipe Source: Peanut butter-cream cheese filling adapted from Yammie's Noshery. Caramel sauce barely adapted from Mel's Kitchen Cafe.)
annie@ciaochowbambina says
Oh gosh! These sound incredible!! We're in Boston this weekend visiting our girls but as soon as we return home these will be taking up space in the freezer! Fantastic recipe, Andrea!
Mamma C says
Thanks, Annie! I hope you enjoy these, and safe travels.