
You just need 10 minutes and three ingredients to make this Baked Parmesan Crisps Recipe! Make these keto cheese crisps for an easy appetizer, snack or to top your soup or salad. Don't miss my tips for substitutions, storage and even microwave instructions!
Cheesy snowflake, anyone?
Just kidding.
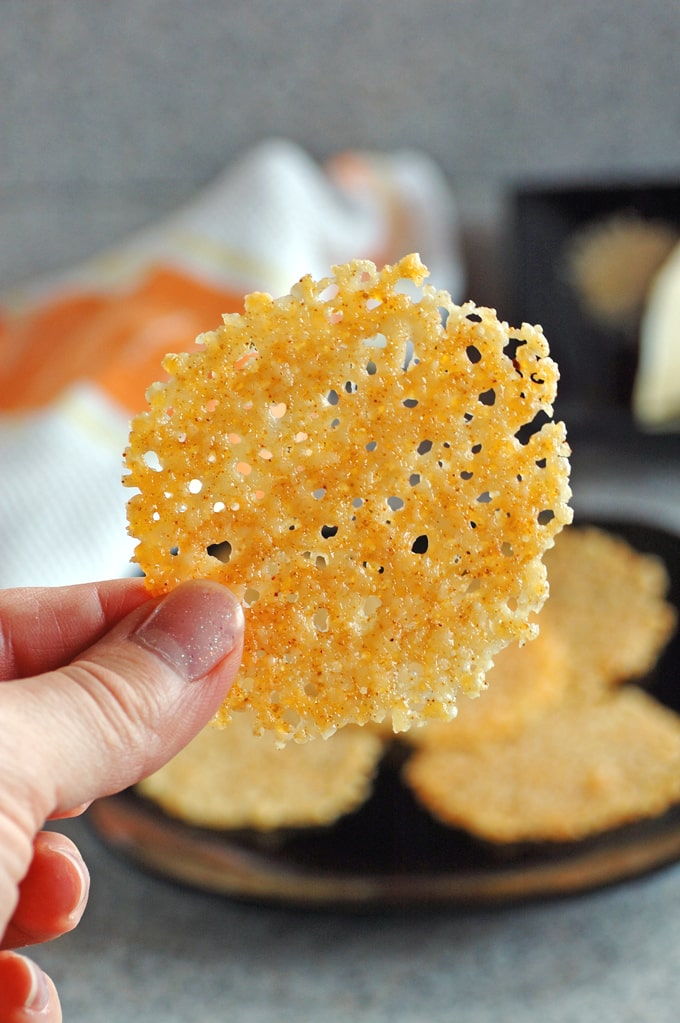
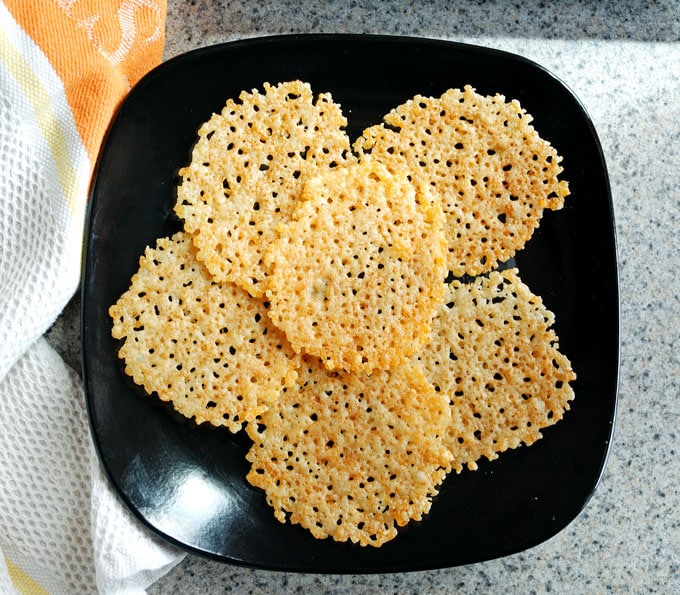
But don't these Parmesan chips look awesome? And, do you see the heart?
I'm giddy over here! You will be too, once you try these frico, as they're called in the Veneto region of Italy (the Venice area) where these tasty snacks hail from.
And guess what? This gluten-free recipe has just three ingredients!
It's one of my favorite Italian appetizers.
Recipe ingredients
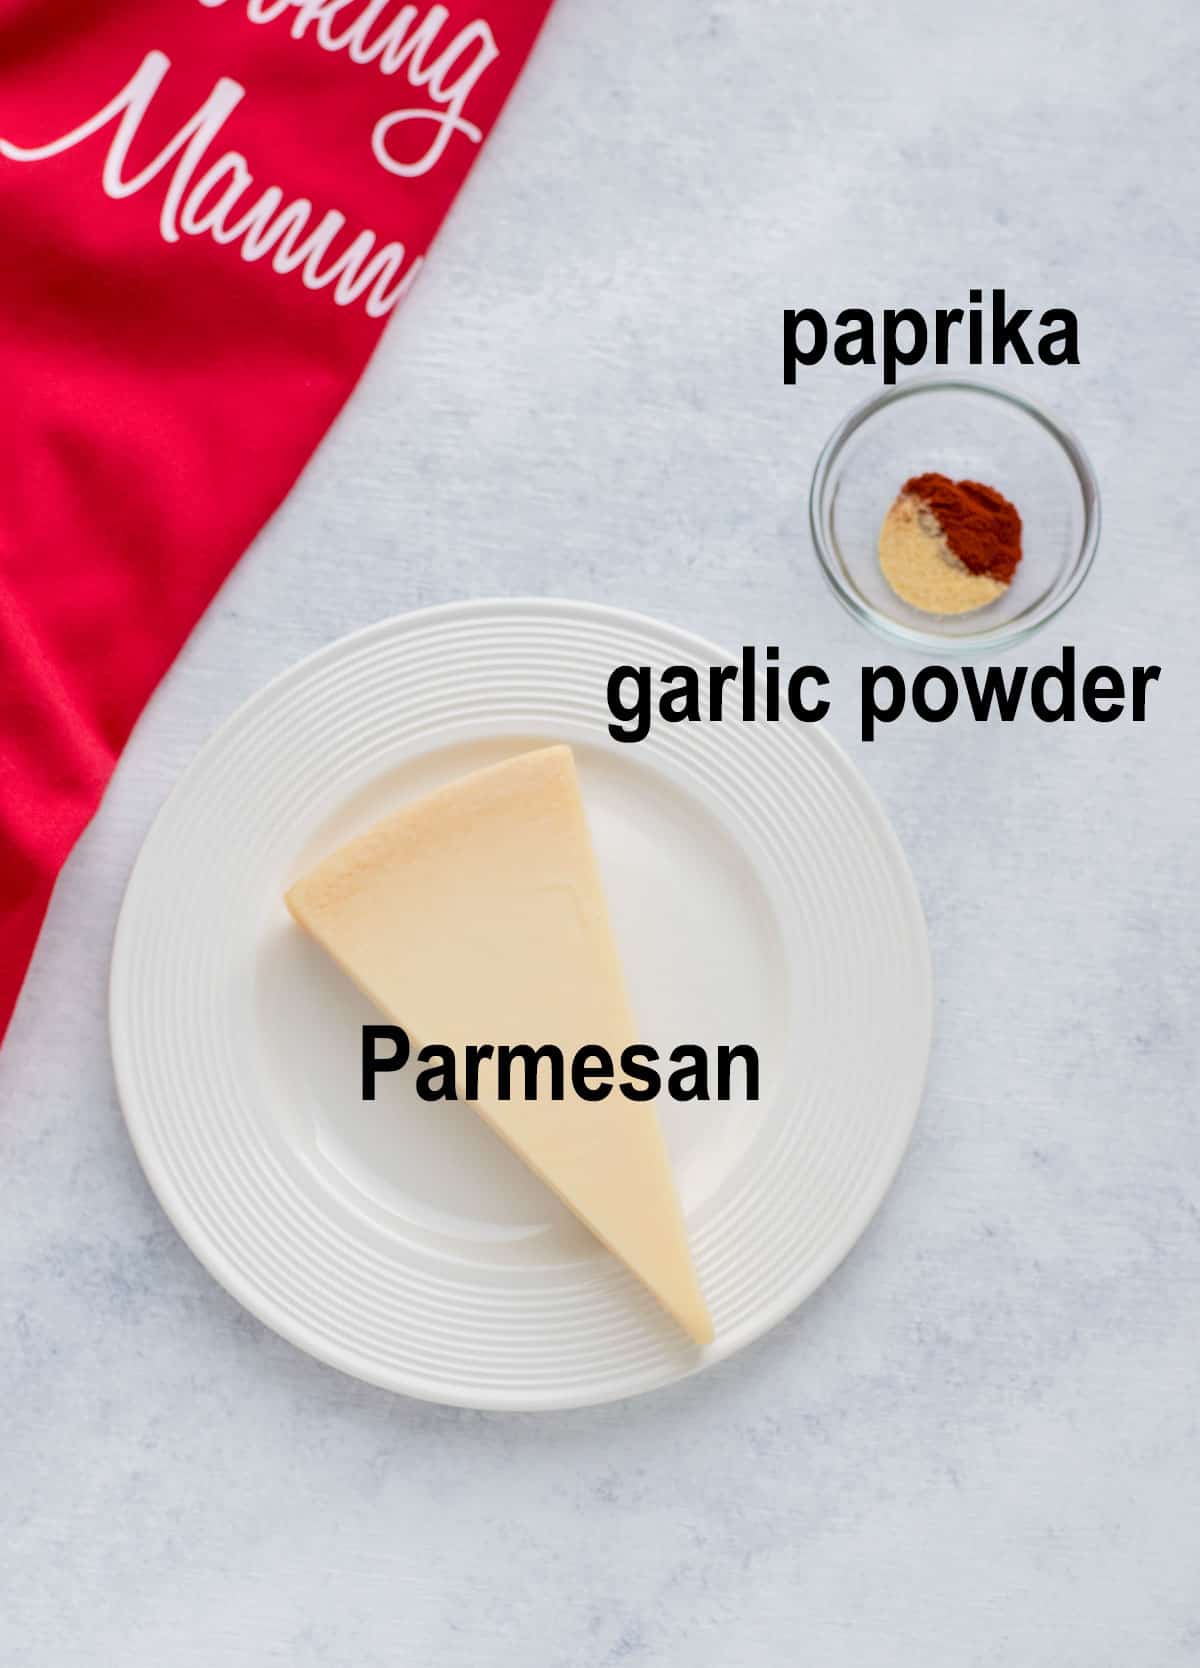
See? That's it!
You can even make these crisps plain, but I like them so much better with the garlic-paprika seasoning. It's the flavor profile I've used in my healthy onion rings, keto cod, baked chicken drumsticks, gluten-free jalapeño poppers and garlic Parmesan shrimp.
Yum!
How to make baked Parmesan crisps
You just need 10 minutes from start to finish if you're making these Parmesan wafers in the oven. Grate the cheese finely and stir in garlic powder and paprika.
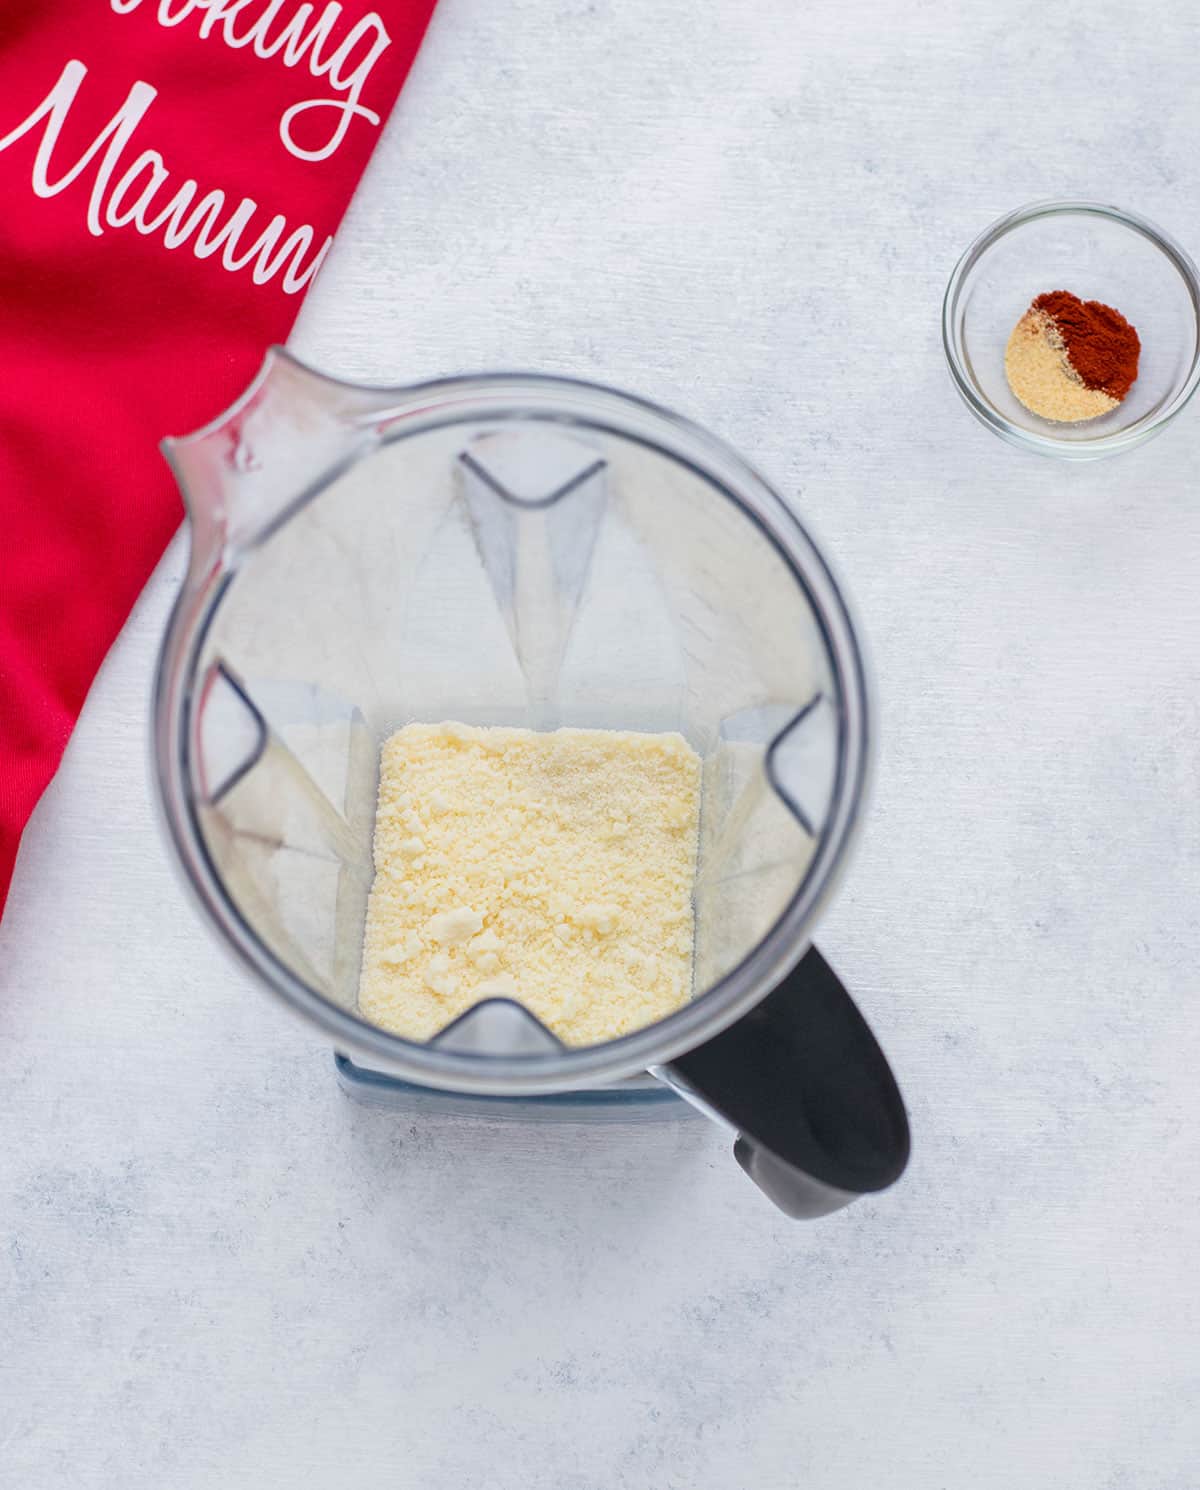
I use my Vitamix (affiliate link) to grate a triangle of cheese in two batches. For a small amount, I use my zester/grater (affiliate link).
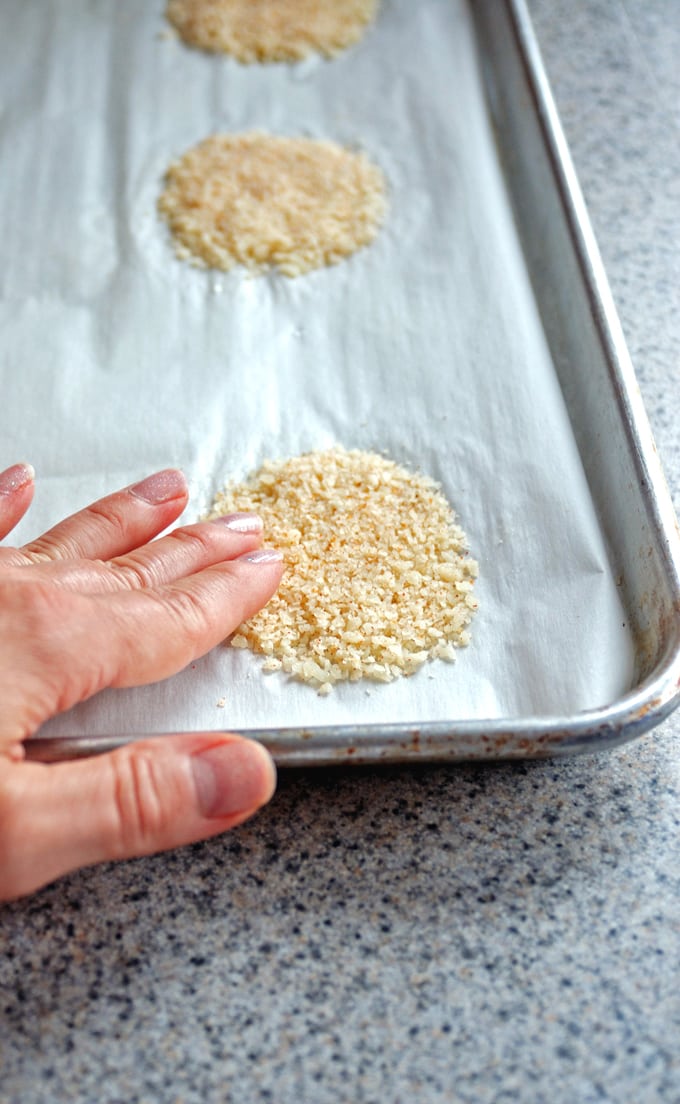
Scoop little mounds of the seasoned Parmesan on a rimmed sheet pan lined with parchment paper or a silicone mat (affiliate link). Flatten the cheese rounds a bit with your hand, then bake!
Recipe tips
- Use freshly grated Parmesan instead of the kind sold in a can. Canned Parmesan won't melt as well because it contains an anti-caking agent.
- Don't spray the parchment paper/silicone mat with cooking spray, because it will produce greasier results. (When I made the recipe video, I used spray, but no longer do so.)
- Space the cheese mounds a couple inches apart, because they'll spread.
How to store and freeze crisps
If you don't stuff all of these in your face within minutes like some people (cough, cough), you'll need to refrigerate or freeze them.
You can refrigerate leftovers in an airtight container for up to four days. Note that they'll become a bit rubbery.
Freezing is my new favorite method to store the crisps. When they're cooled off after baking, place them on wax paper in layers inside an airtight container.
They stay crispy, right out of the freezer. If you want to reheat the chips in the microwave, you'll just need a few seconds, but the cheese will be less crispy.
Frequently asked questions
For the crispiest results, make these chips with any hard cheese, such as Parmesan, Asiago or Romano. I've made Asiago crisps using this recipe, and they were fabulous!
You can use a semi-hard cheese, such as cheddar, Monterey Jack or colby, but they'll be less crispy. I've made them with cheddar and found that I much preferred the salty vibe from Parmesan or Asiago.
I never thought about using the microwave for these, until a reader tipped me off. After a few rounds of testing, here's my advice:
Line a microwave-safe plate with parchment paper, not wax paper. Wax paper will stick to the melted cheese like glue.
Test one in your microwave to see how much time is needed for best results. My 1400-watt microwave took 25 seconds for a crispy chip. Thirty seconds made it hard and crunchy.
Use the microwave option when you want a snack ready in seconds. You don't even have to mix the cheese with seasoning first...just sprinkle it on before heating.
Use a regular oven for the best texture, and when you need to make a larger quantity.
What to serve with cheese crisps
- Add them to your bowl of minestrone or broccoli-cheddar soup with Parmesan.
- Top your spinach salad with them.
- Use them as an appetizer to scoop up spaghetti sauce.
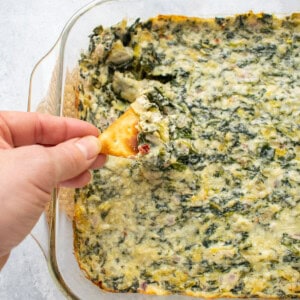
- Mold them around the cups of an inverted muffin pan while the crisps are warm. When cool, fill them with spinach-artichoke dip.
- Add them to your hamburger.
- Eat them plain as a snack!
So many possibilities.
Enjoy!
Baked Parmesan Crisps Recipe
Video
Ingredients
- 1 cup freshly grated Parmesan cheese
- ¼ teaspoon garlic powder
- ¼ teaspoon paprika
Instructions
- Preheat your oven to 400 degrees F. Line two large, rimmed baking sheets with parchment paper (cut to fit) or silicone mats.
- Finely grate the Parmesan in your blender, food processor, or on a box grater until you can measure out one cup.
- In a small bowl, stir together the cheese, garlic powder and paprika.
- Using a measuring spoon, scoop a heaping tablespoon of the cheese mixture and place it on your baking sheet, starting at one of the corners. Continue placing little mounds of cheese on your pan, fitting six on each pan and spacing them apart.
- Pat down each cheese mound with your hand to flatten it into a circle about 2 ½ inches to 3 inches wide. Bake for 4-6 minutes, until they are set and starting to get crispy.
- Remove the crisps from the oven and let them rest in the pan for a couple minutes. Then, use a thin spatula to transfer them to a plate or serving platter to cool. They will be most crispy if eaten soon. Store leftovers in an airtight container in the refrigerator for up to four days (they'll get rubbery) or in the freezer for up to a couple months.
- To freeze, let the crisps cool after baking. Place them on wax paper in layers inside an airtight container. They will stay crispy right out of the freezer. If you want to reheat the chips in the microwave, you'll just need a few seconds, but the cheese will be less crispy.
Notes
- Line a microwave-safe plate with parchment paper, not wax paper. Wax paper will stick to the melted cheese like glue.
- Test making a cheese crisp in your microwave to see how much time is needed for best results. My 1400-watt microwave took 25 seconds for a crispy chip. Thirty seconds made it hard and crunchy.
- Use the microwave option when you want a snack ready in seconds. You don't even have to mix the cheese with seasoning first...just sprinkle it on before heating.
- Use a regular oven for the best texture, and when you need to make a larger quantity.
- Add them to your bowl of minestrone or broccoli-cheddar soup.
- Top your spinach salad with them.
- Use them as an appetizer to scoop up spaghetti sauce.
- Mold them around the cups of an inverted muffin pan while the crisps are warm. When cool, fill them with spinach-artichoke dip.
- Add them to your hamburger.
- Eat them plain as a snack!
Nutrition
(Recipe Source: Adapted from Giada De Laurentiis. Originally published on July 26, 2016 and updated now with additional photos and text.)


Roy Laccone says
Okay I tried this and mine never melted instead they turned brown and were just as flake as I started. Was I supposed to mix some sort of liquid with them to get the melting going ? Mabe spray olive oil or butter on them?
Mamma C says
Hi Roy - I only spray the parchment paper and don't add any liquid to the grated Parmesan. Did you buy a triangle of Parmesan and grate it yourself? That's what I do, since that makes a difference. Also, is your oven working properly?
Helene says
You can make them in the microwave as well. They are delicious.
Mamma C says
Hi Helene - I have to try that! Thanks for letting me know!
Jennifer Myers says
I wonder if the same thing would work with smoked cheddar?
Mamma C says
Hi Jennifer - I've only tried this with Parmesan and believe hard cheese is needed. Another commenter (Michelle D.), said soft cheese (like cheddar) will melt and burn.
Erica Major says
Love! i just made these and i added them to a Rosemary Turkey Burger for crunch OMG
Mamma C says
Hi Erica - That sounds so good! I'm definitely trying that! Thanks for letting me know.
Deena says
For those wondering, if you don't have parchment paper, you can use non-stick foil. My parmesan was very greasy so I imagine even regular foil would probably work. Any idea if certain brands are oilier than others?
Mamma C says
Hi Deena - I usually buy a triangle of Bel Gioioso Parmesan, and it works pretty well. I don't know whether other brands are more greasy.
Vicki says
Thanks for sharing on Pinterest, Andrea. I'll definitely try this recipe. However, I can't seem to find the link to the video. Perhaps you can email it to me? Thanks!
Mamma C says
Hi Vicki - The video is embedded into the post. If viewing on your phone, the video is located just above the recipe card. If viewing on your computer, the video is at the very top of the post, but when you scroll, it moves to the right side of the screen and should play automatically. Let me know if you still can't find it.
Joanne G says
You can also make them bigger, bake till melted. Remove from oven, invert a bowl drape over the bowl to cool. It will hold that shape to use as an edible salad bowl.
Mamma C says
I love that idea, Joanne!
Joslynn says
These looks great for my husband and I on Keto. How well do they keep. Can you make in advance and throw in a baggie? Thank you!
Mamma C says
Hi Joslynn - These need to be stored in the refrigerator, but tend to get rubbery as time goes by. I've heard of people reheating them in the oven to get them crispy again. I've never stored them for longer than a day or so, since we devour them so fast, but they'll probably keep for around four days.
Laura says
These are so yummy. I used smoked paprika and garlic powder.
Mamma C says
Absolutely addictive. I'm glad you enjoyed them, Laura!
Michelle D says
This works with Asiago cheese too. Harder cheese stays crisp. Softer cheese just melts and burns before it gets crisp. Just my experience. Will add herbs next time I make these. Super simple and quick to make. Thanks for sharing.
Mamma C says
Hi Michelle - I'll have to try it with Asiago! I appreciate your input. Thanks for your comment!